Most people tend to think that Lightroom presets and brushes are only useful for full-time photographers, but they can actually be a really handy time-saver for bloggers too. In this post, I’ll show you some examples of how you can quickly and easily use a range of Lightroom presets for your blog or social media photography, even if you’re fairly new to Lightroom itself.
What are Lightroom Presets?
Presets are essentially like filters for your images, which use specified scales for brightness, exposure, colour tint, etc and replicate these same values across any photograph you like. You can either create your own presets, using the scales that you have found best fit your style (and shooting conditions) of your photography, or you can purchase presets online. For this post, I’m using presets, brushes and filters purchased from Pretty Presets, who mainly specialize in presets for portrait photography, but which, as I’m going to show, can actually be used for many different photo styles.
Why Use Presets?
Presets are a great time-saver. Say you’re a wedding photographer, or just came back from a trip, and have hundreds of photos to edit all in one go, you can use presets to edit, sharpen and colour your photos in no time at all. It also means you can do all of your major editing in Lightroom, instead of having to switch between Lightroom and Photoshop. I now find that I do almost all of my editing and exporting within Lightroom, only using Photoshop for occasional touch-ups or detail work.
Along with brushes and filters that you can use on specified areas of a photograph (as opposed to the whole picture), presets can transform the look and feel of your images.
Here’s several examples of different types of photography, and how I used presets, brushes and filters to make them pop.
Travel Photography
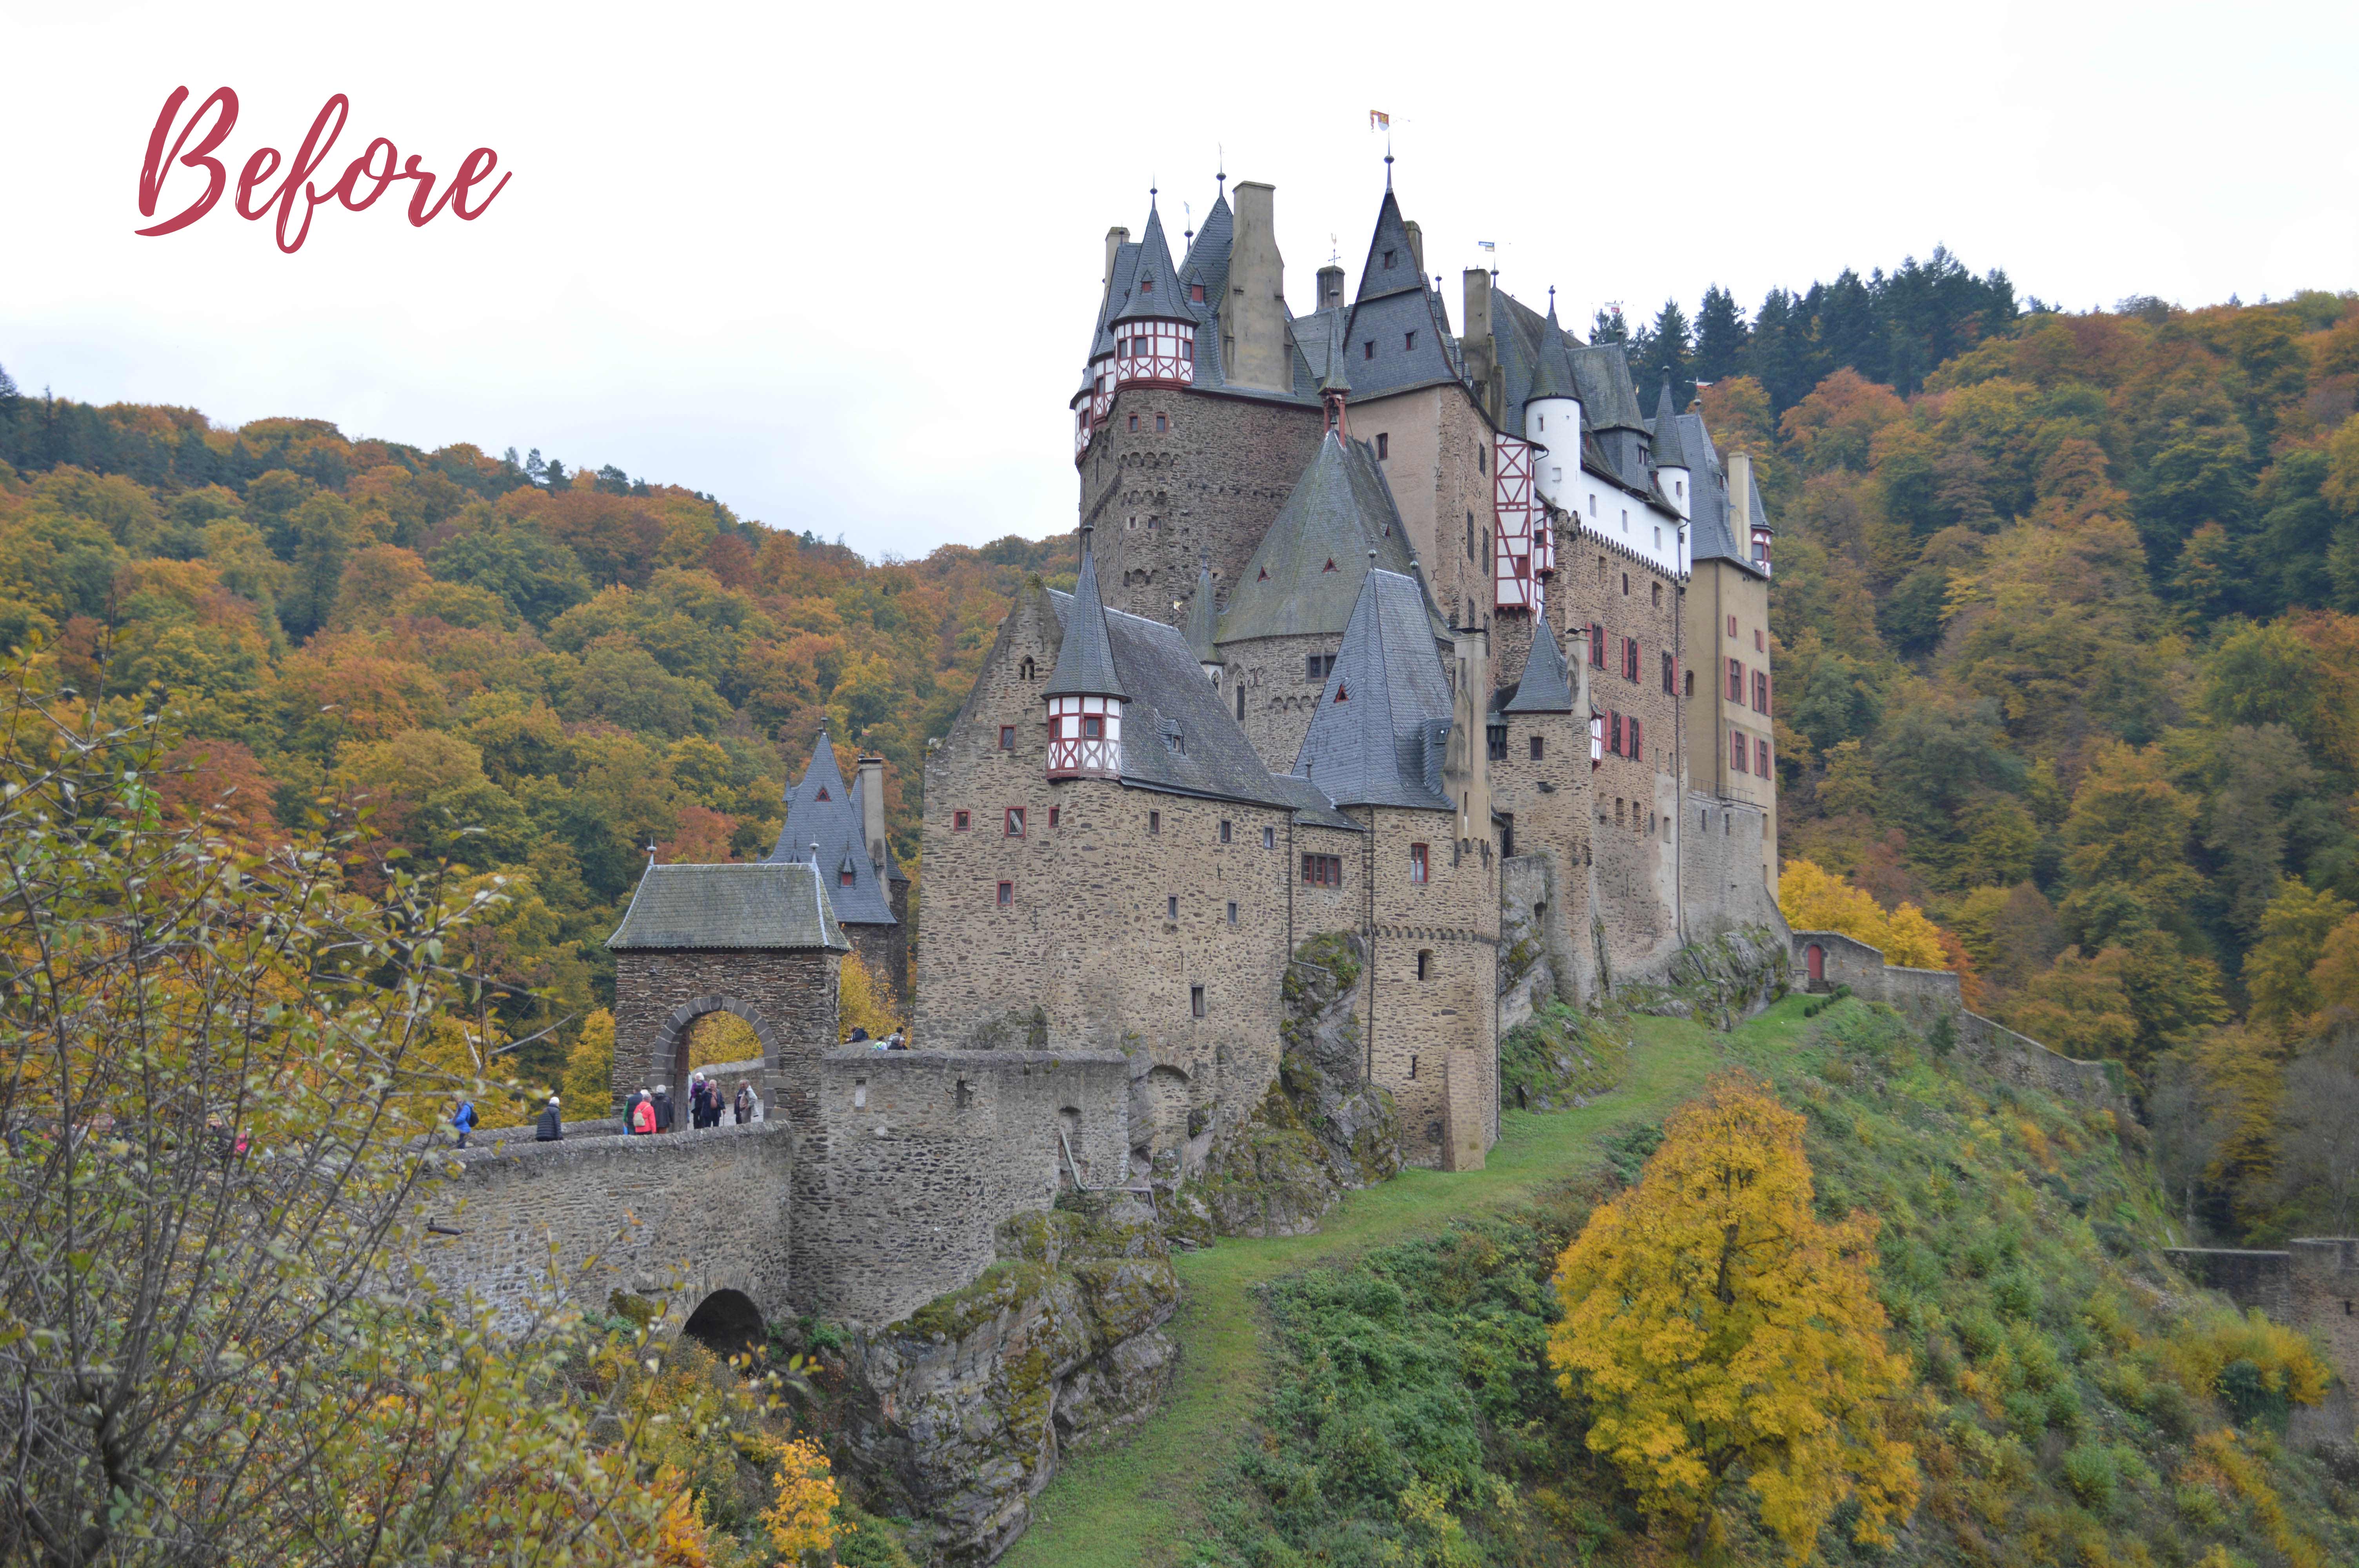
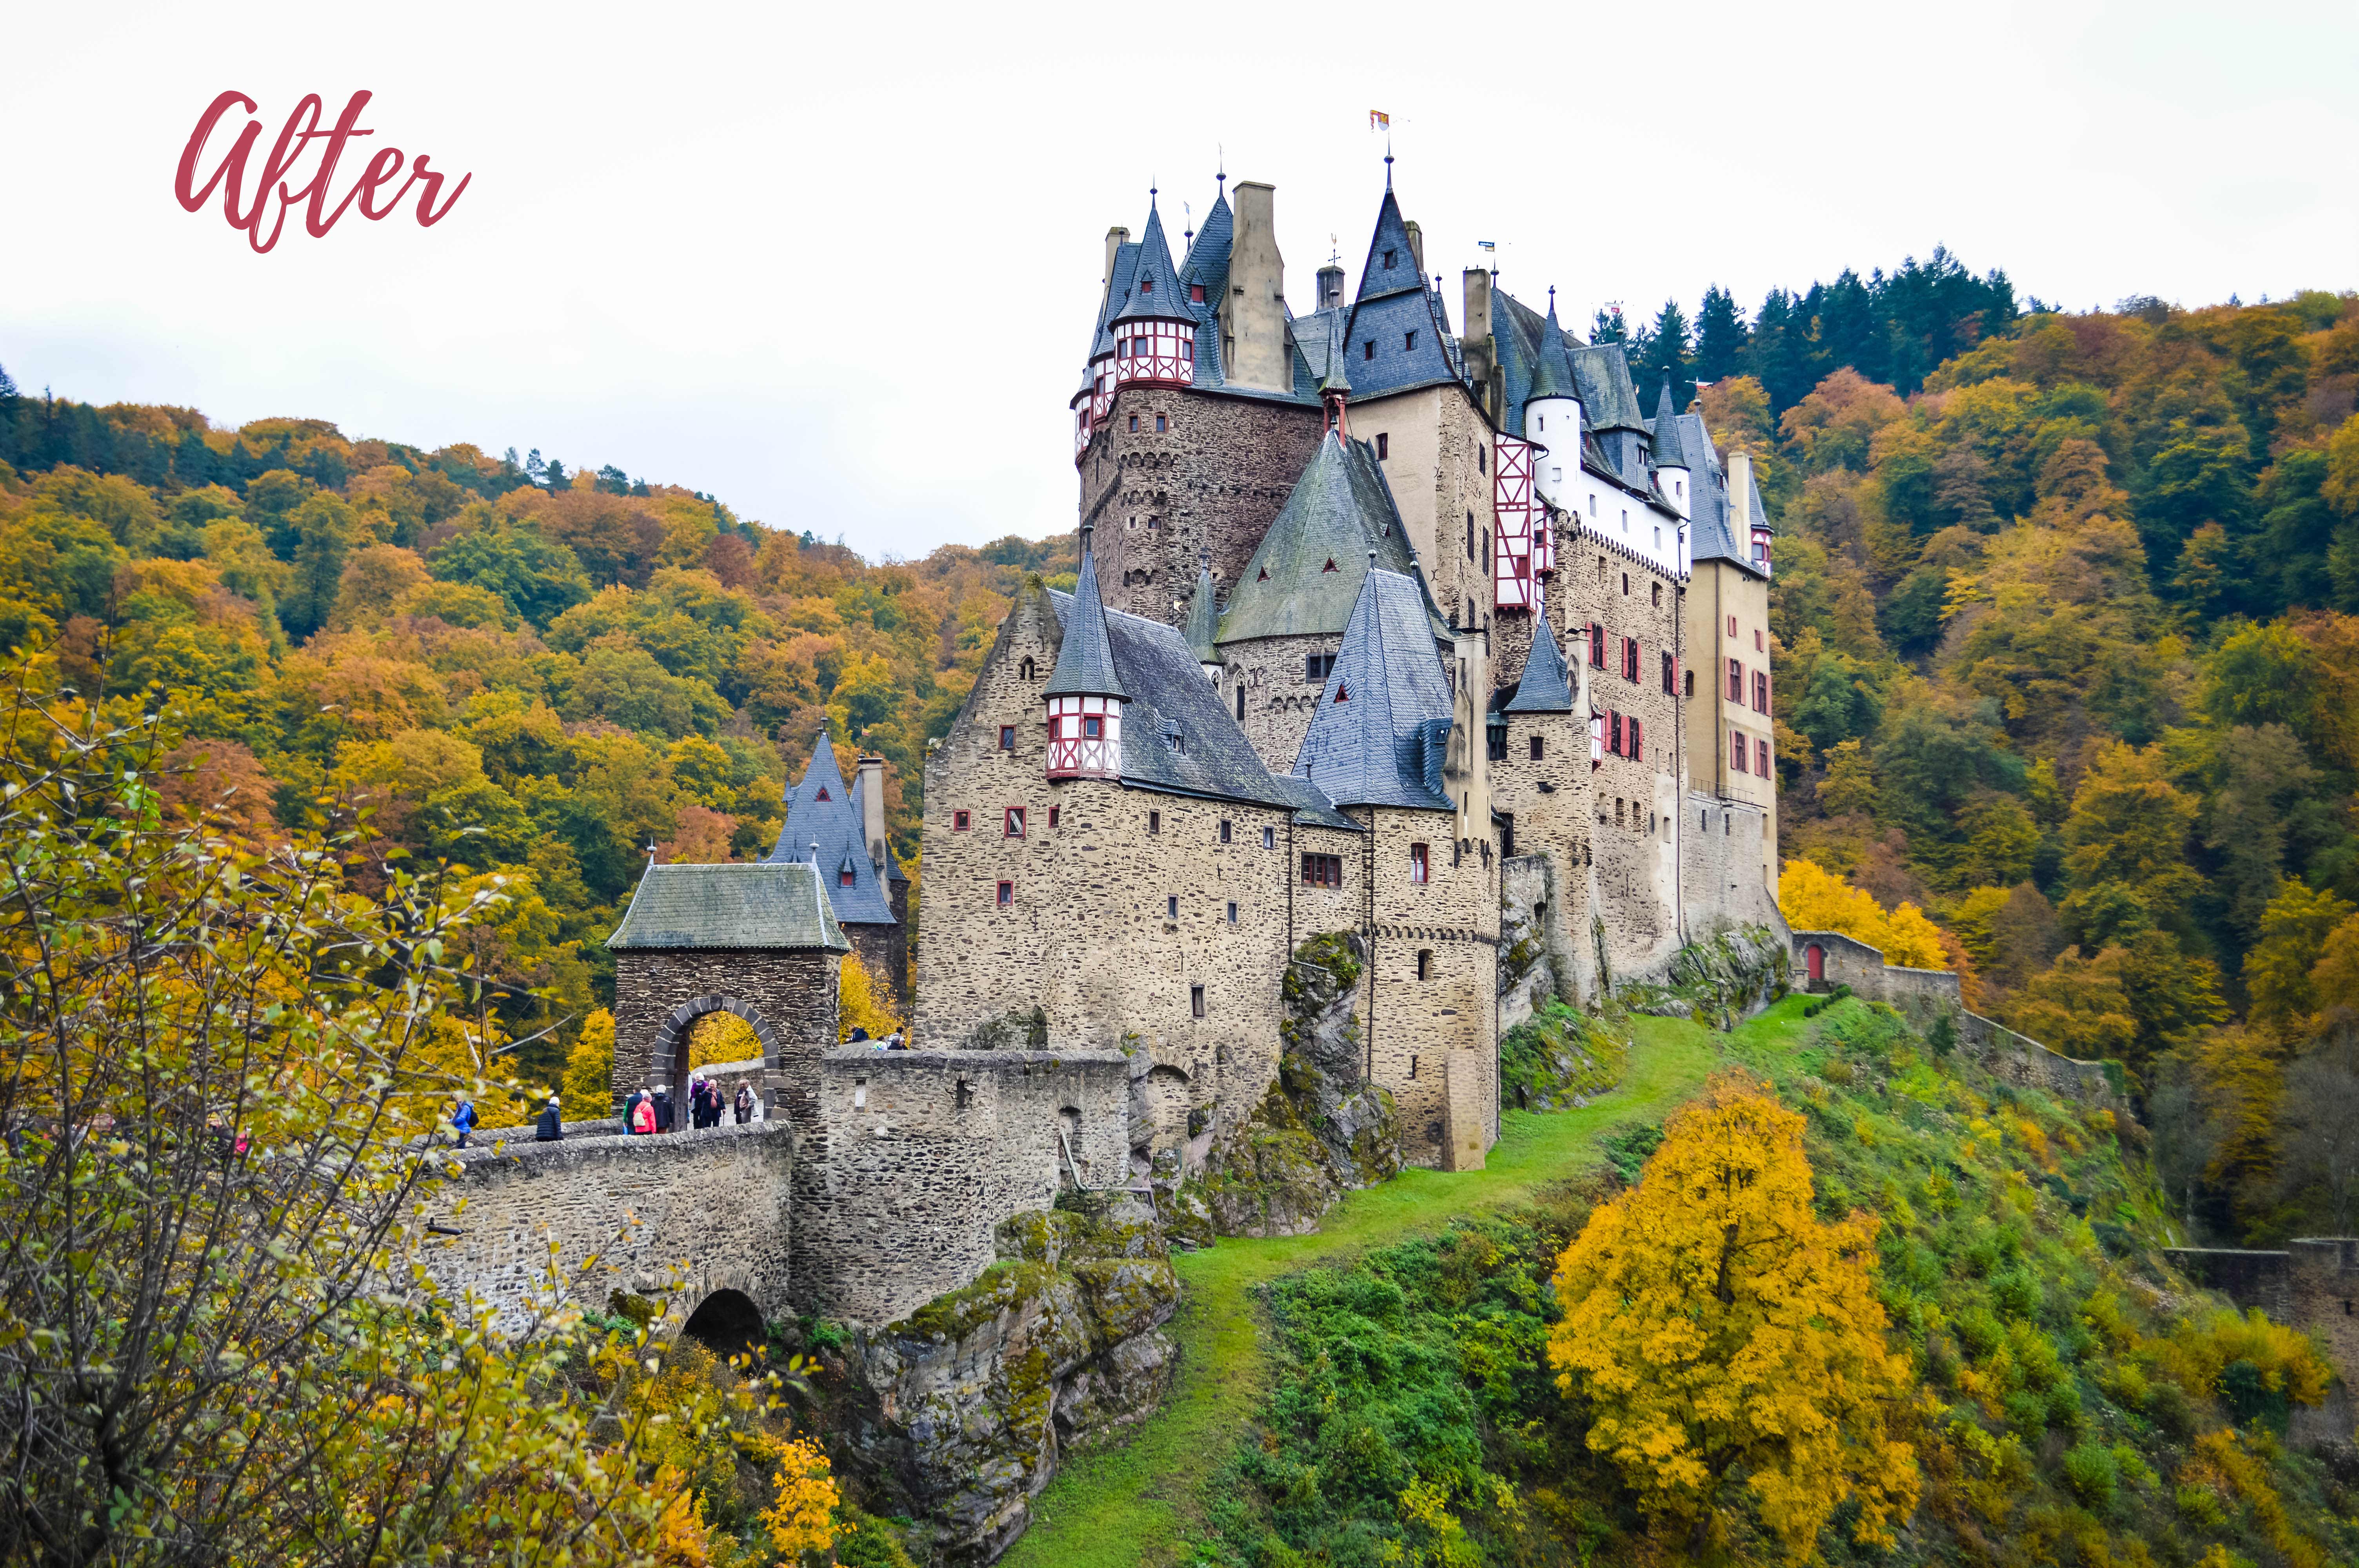
As you can see, the presets and brushes have really made a difference to the photo I took of Burg Eltz during our trip to the Rhine River Valley. The presets I used were: All in One Clean Edit, Colour Pop a Little, Contrast a Lot and WB Warm a Little. I then used the Clarity and Detail brushes just over the castle building to make it standout against the greenery.
Headshots / Portrait Photography
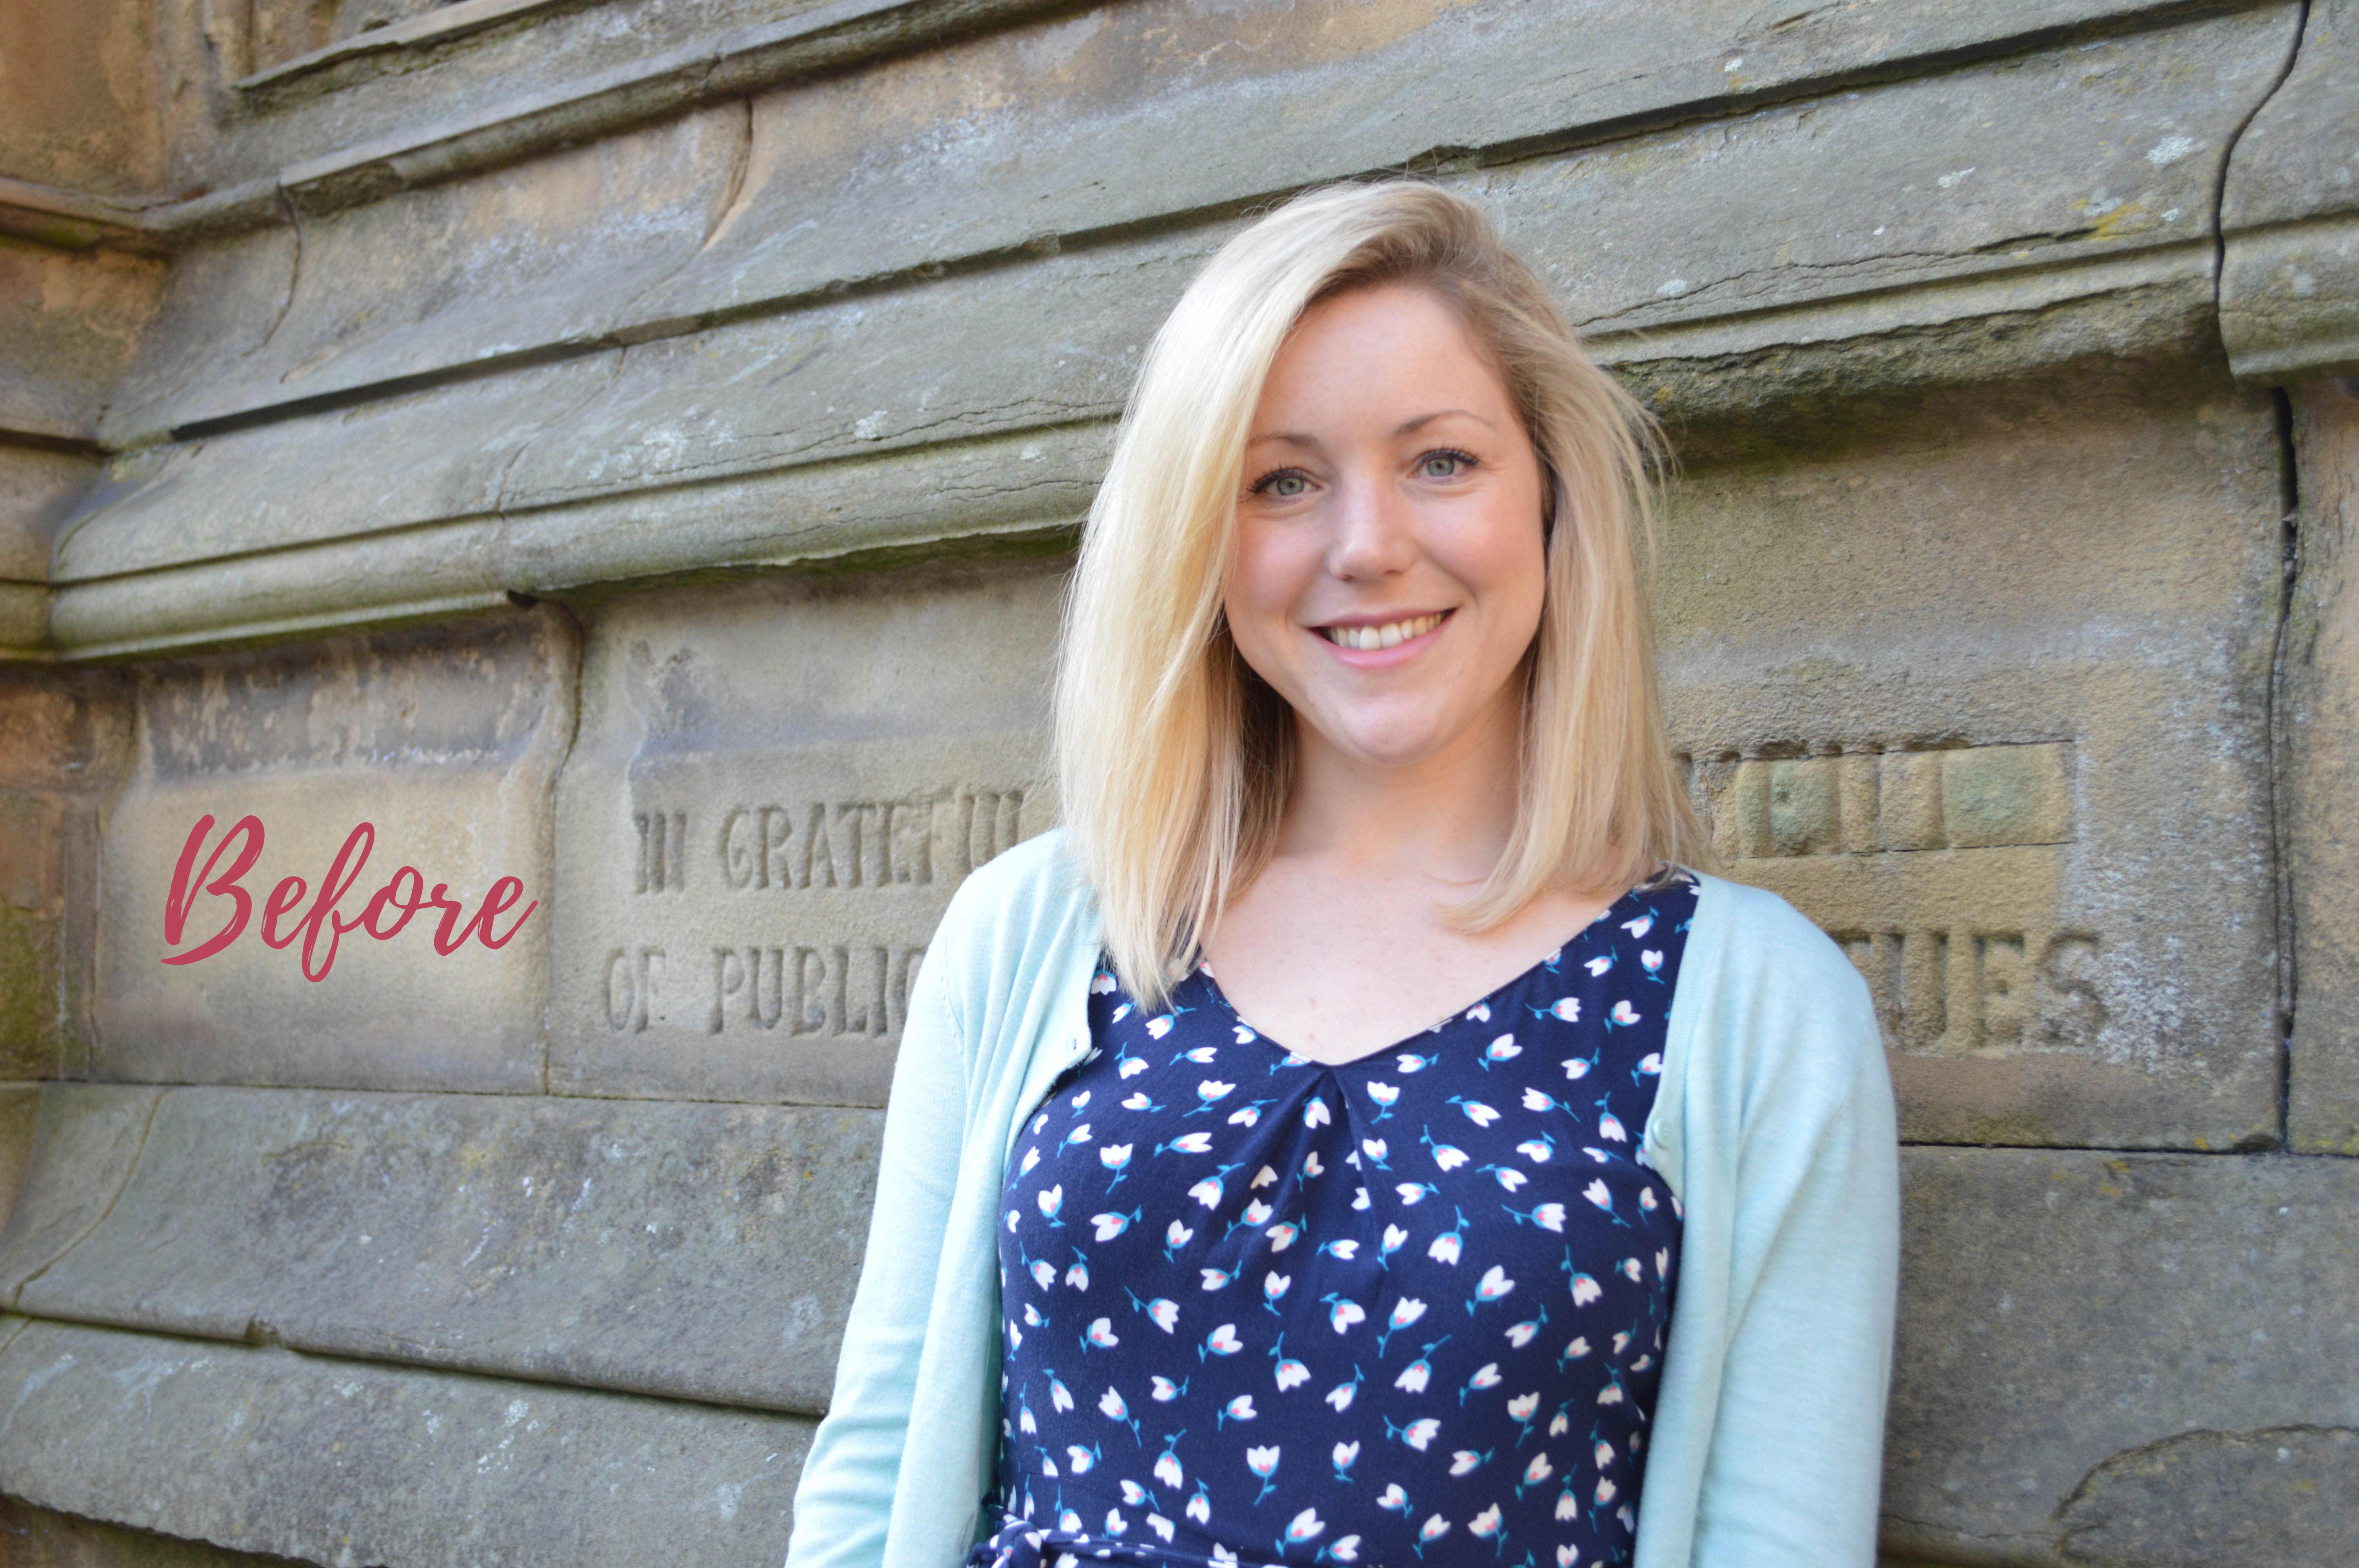
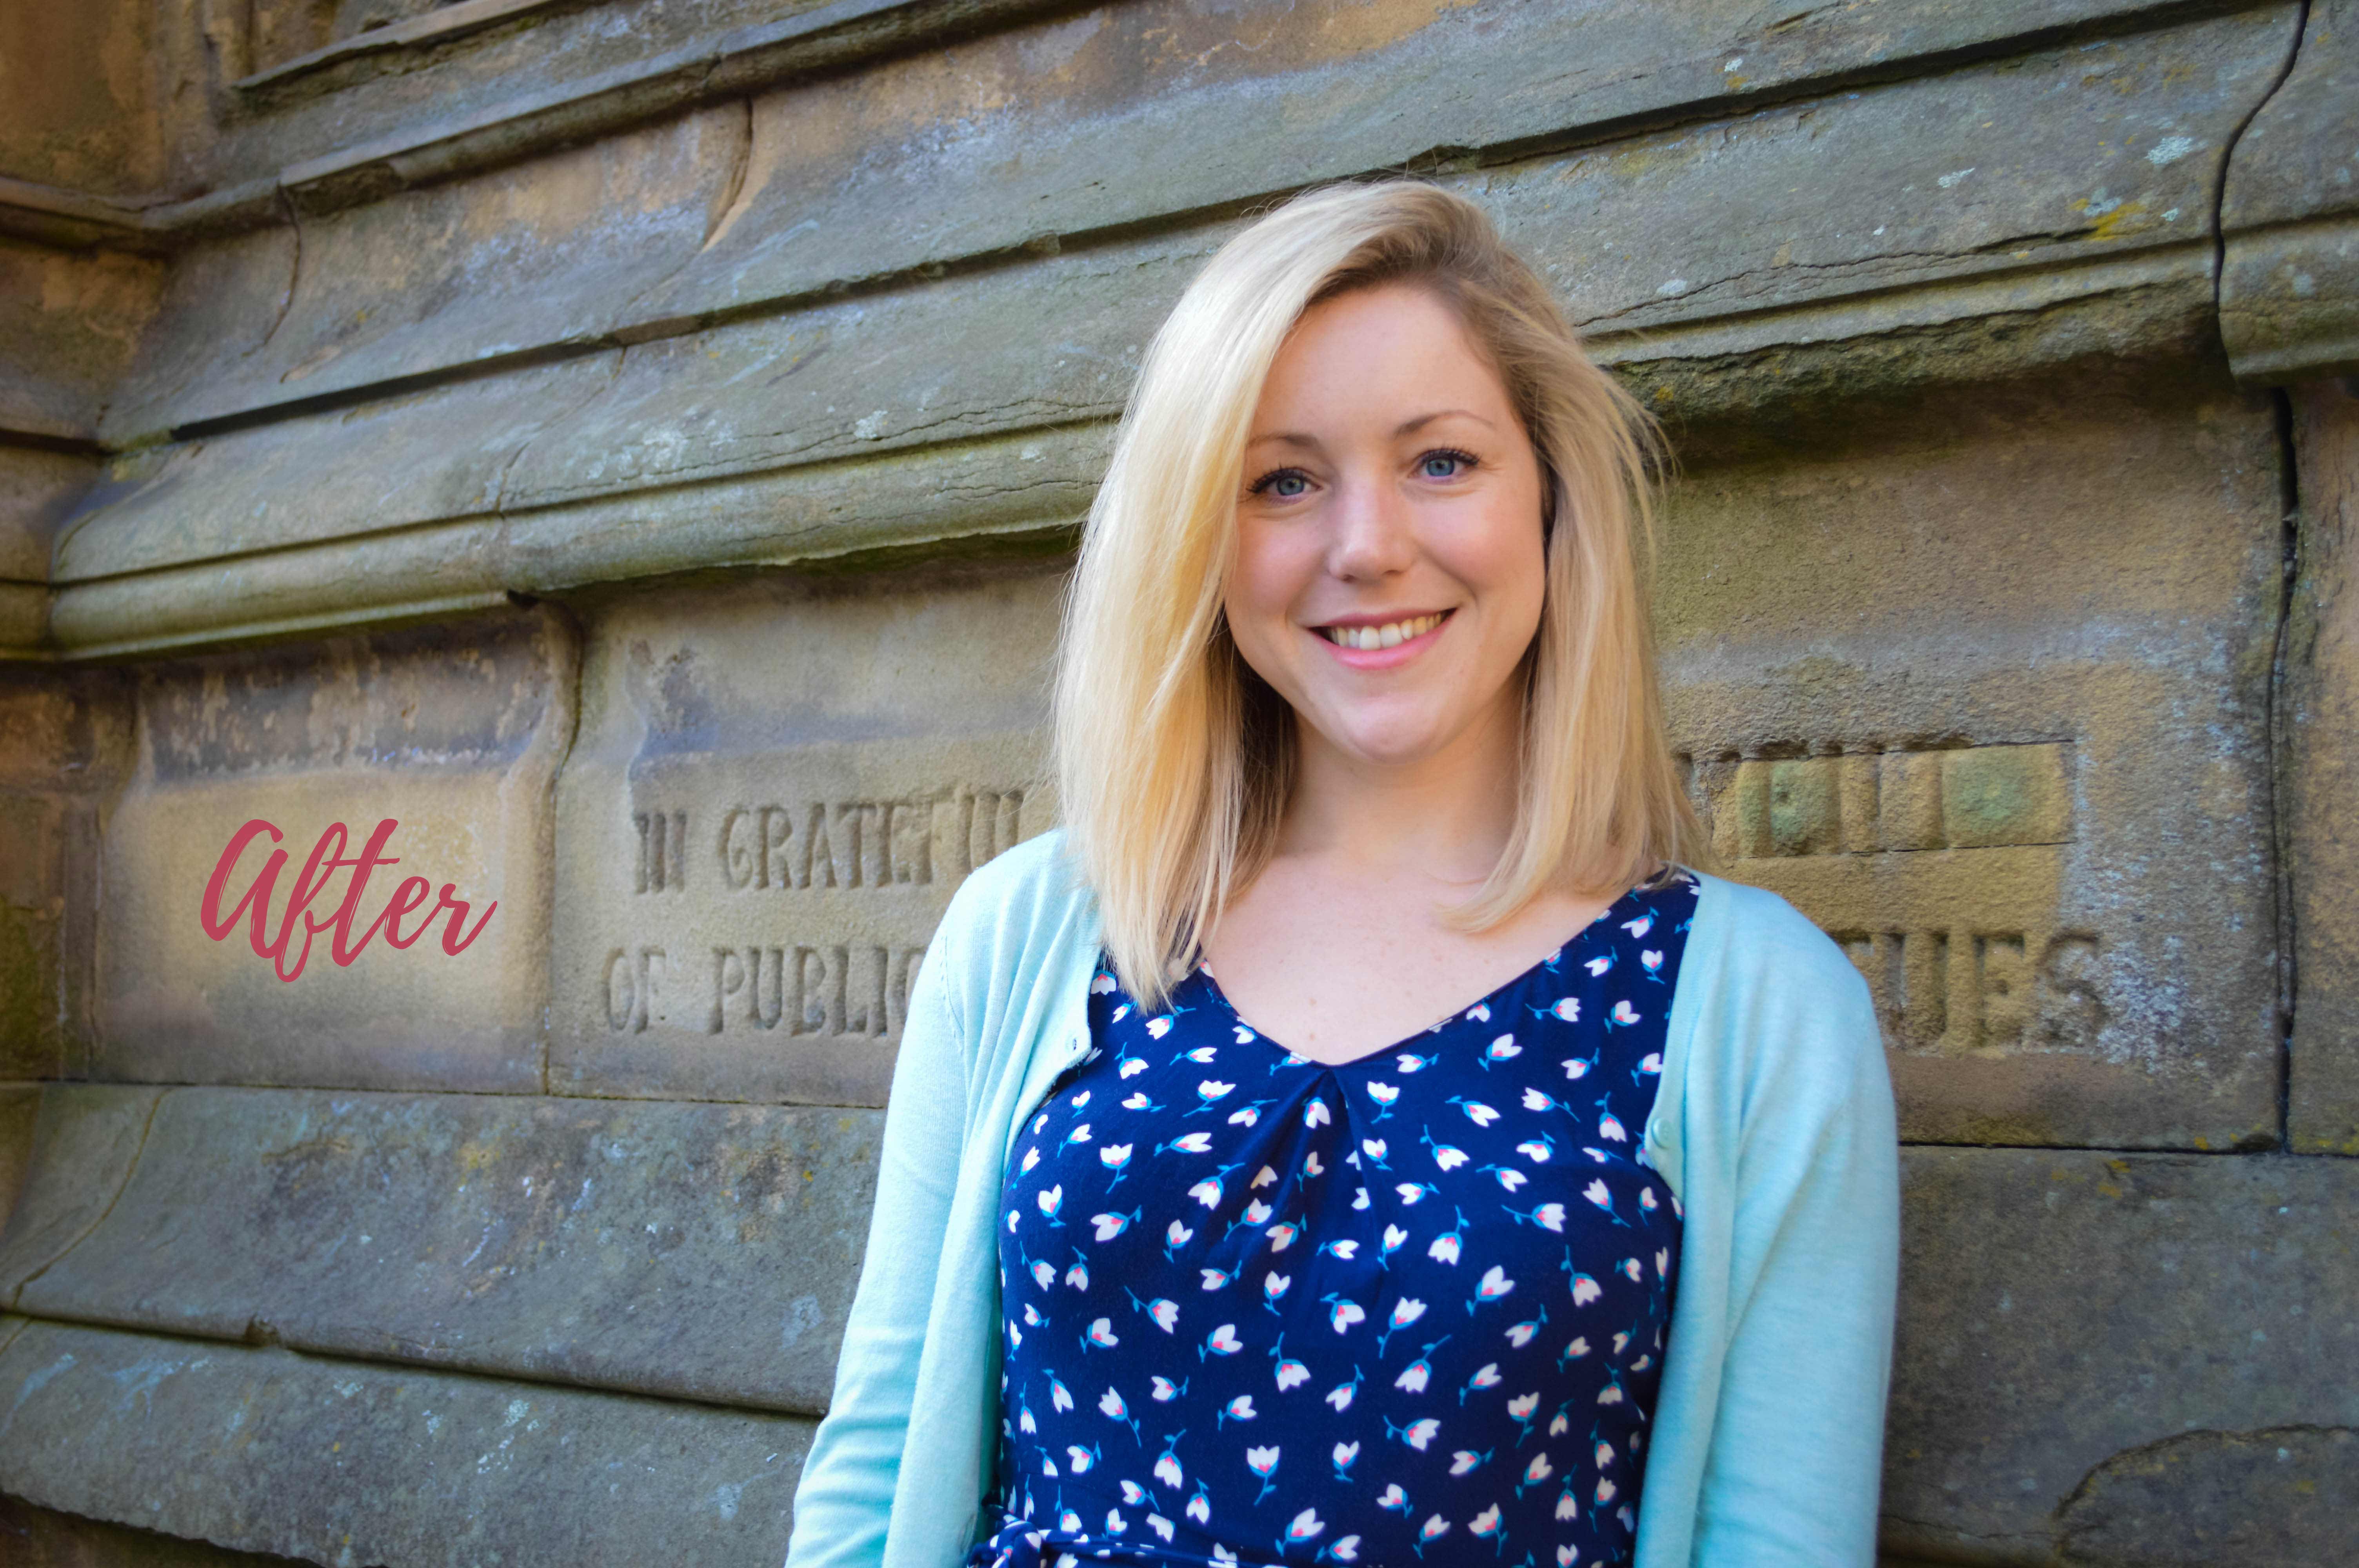
You can actually buy some amazing portrait presets that offer a cool bohemian vibe, vintage feel, or even put a spring glow onto your photographs and actually require very little other work, but as I don’t do portrait photograph that often, I simply use Lightroom brushes for facial detail instead.
In this photograph, I used the All in One Clean Edit to start, then used a softening preset to soften the features. I used two presets to fix the red and yellow underlying tones, one to enchance the colour and one to lighten the shadows.
I the moved on to using brushes which are made for facial close-ups, namely those to enhance eye colour and smooth skin tone.
Food Photography
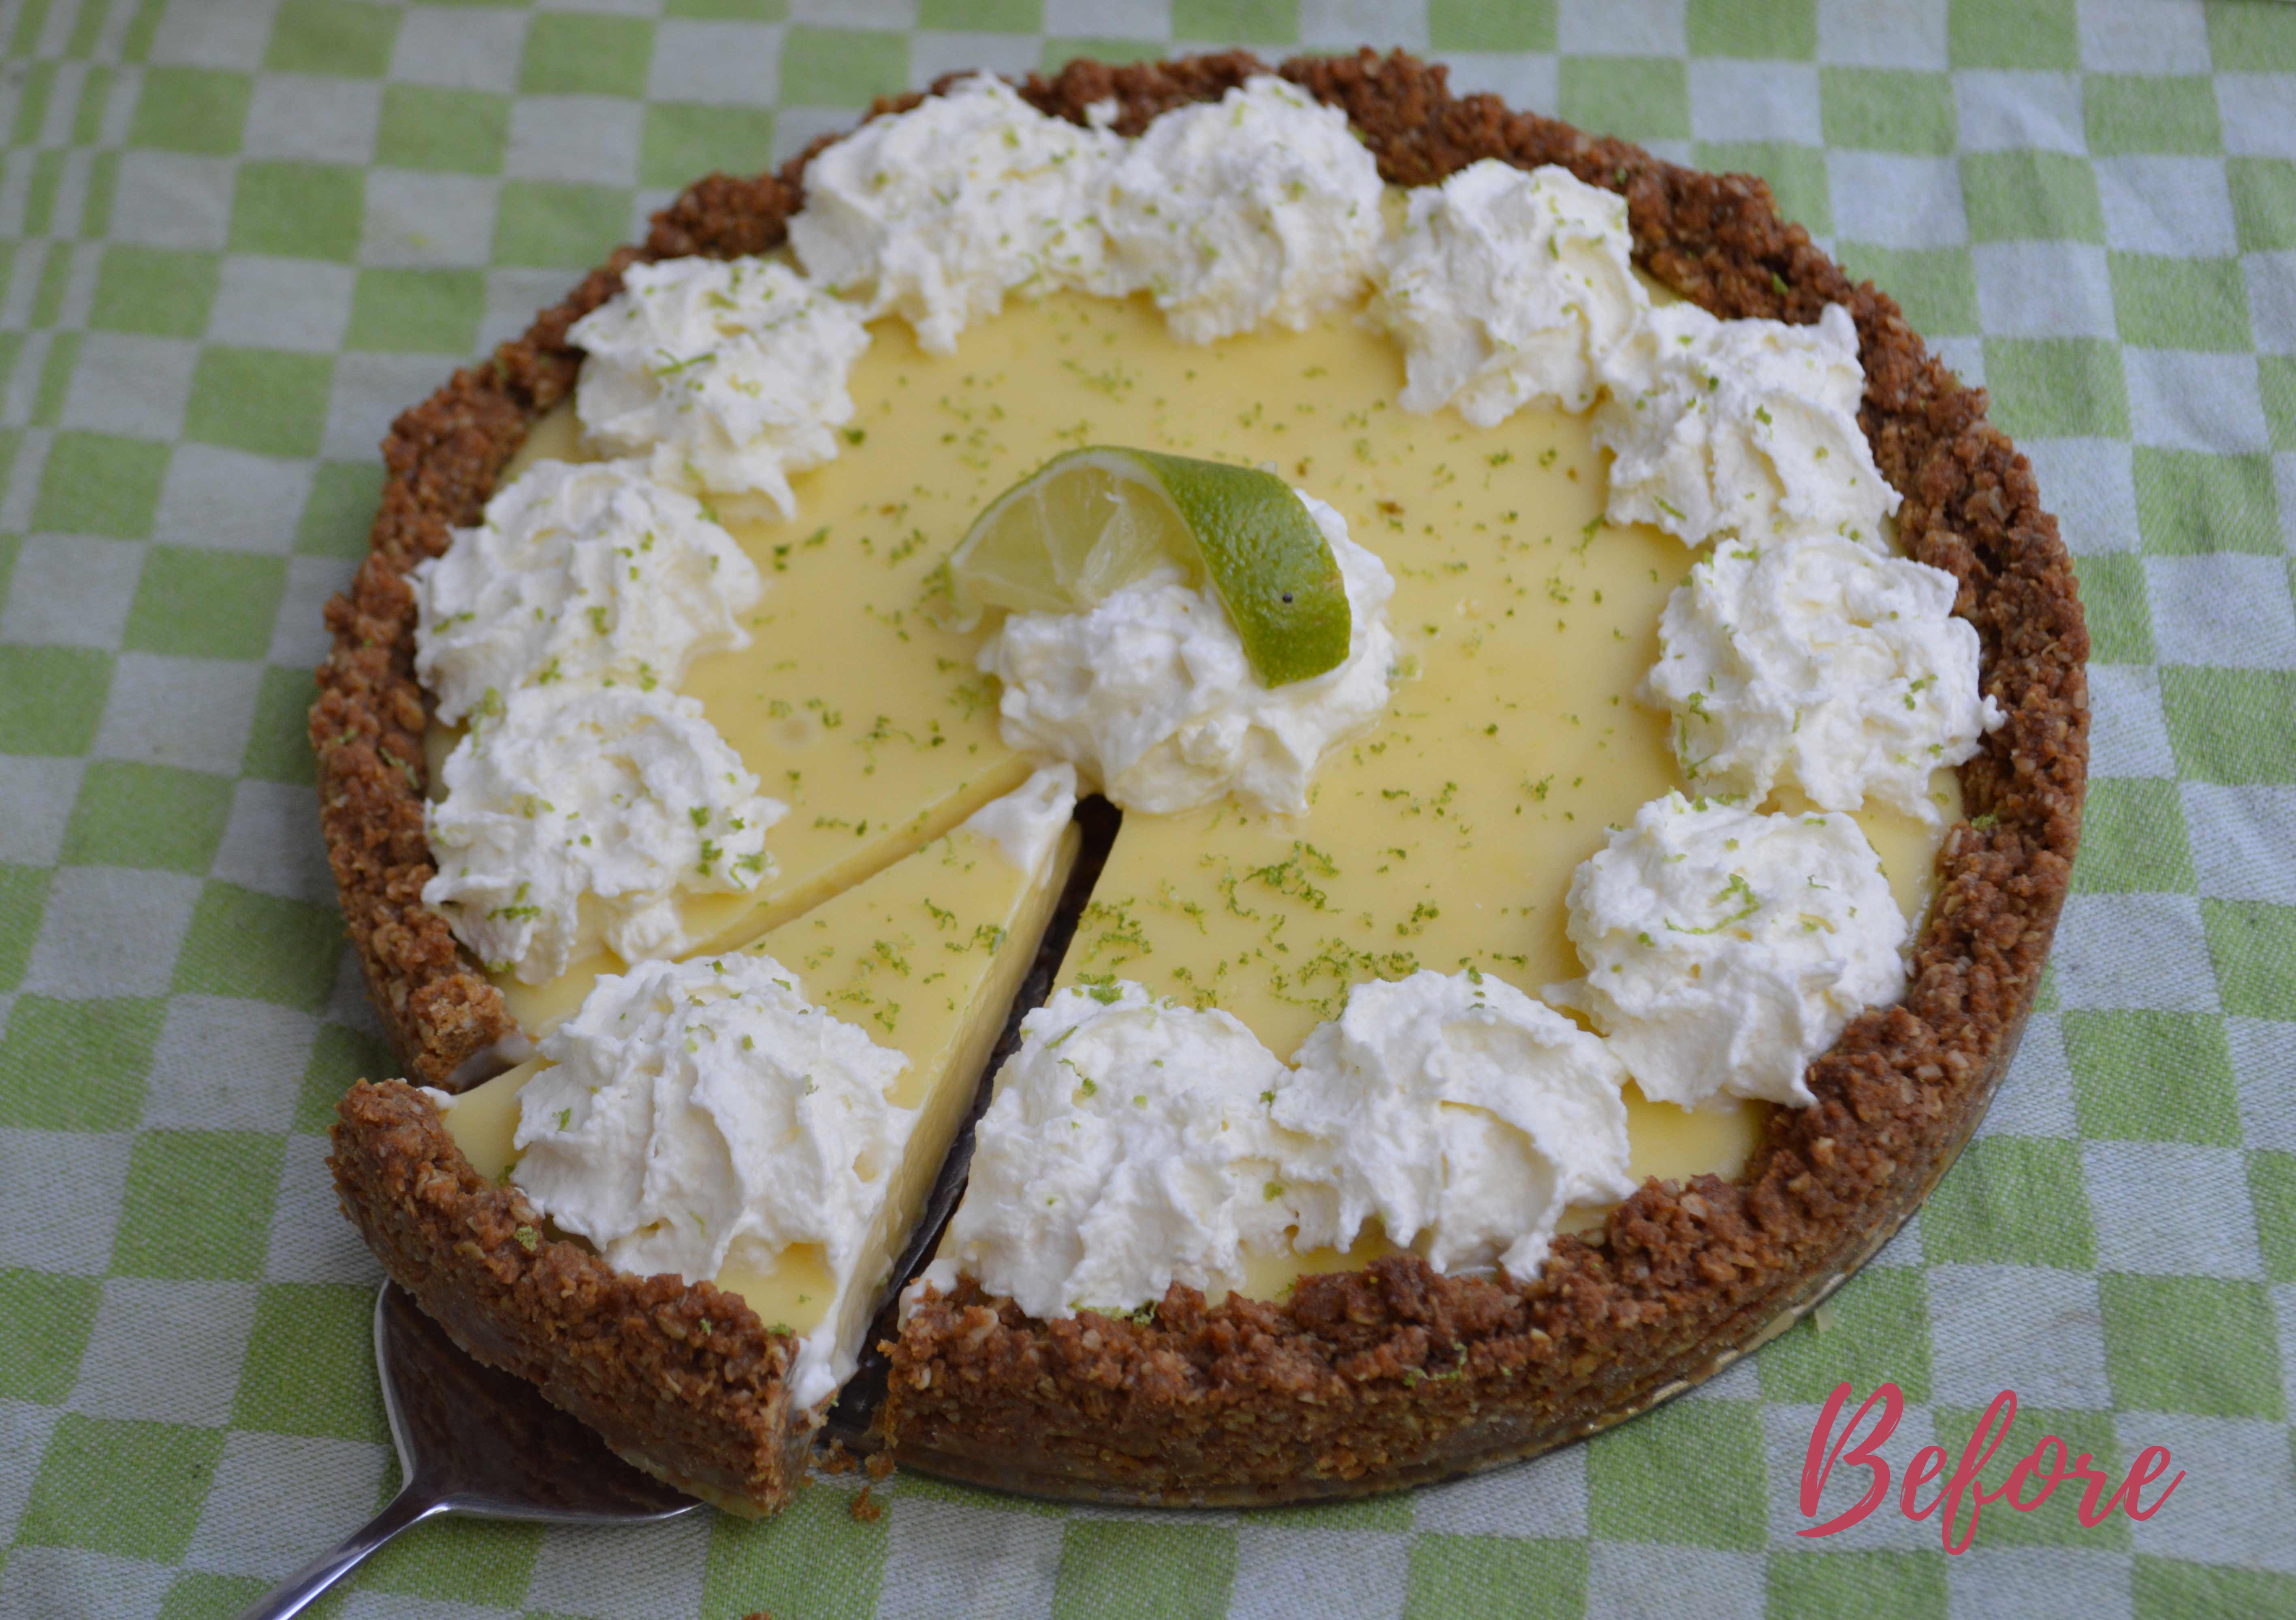
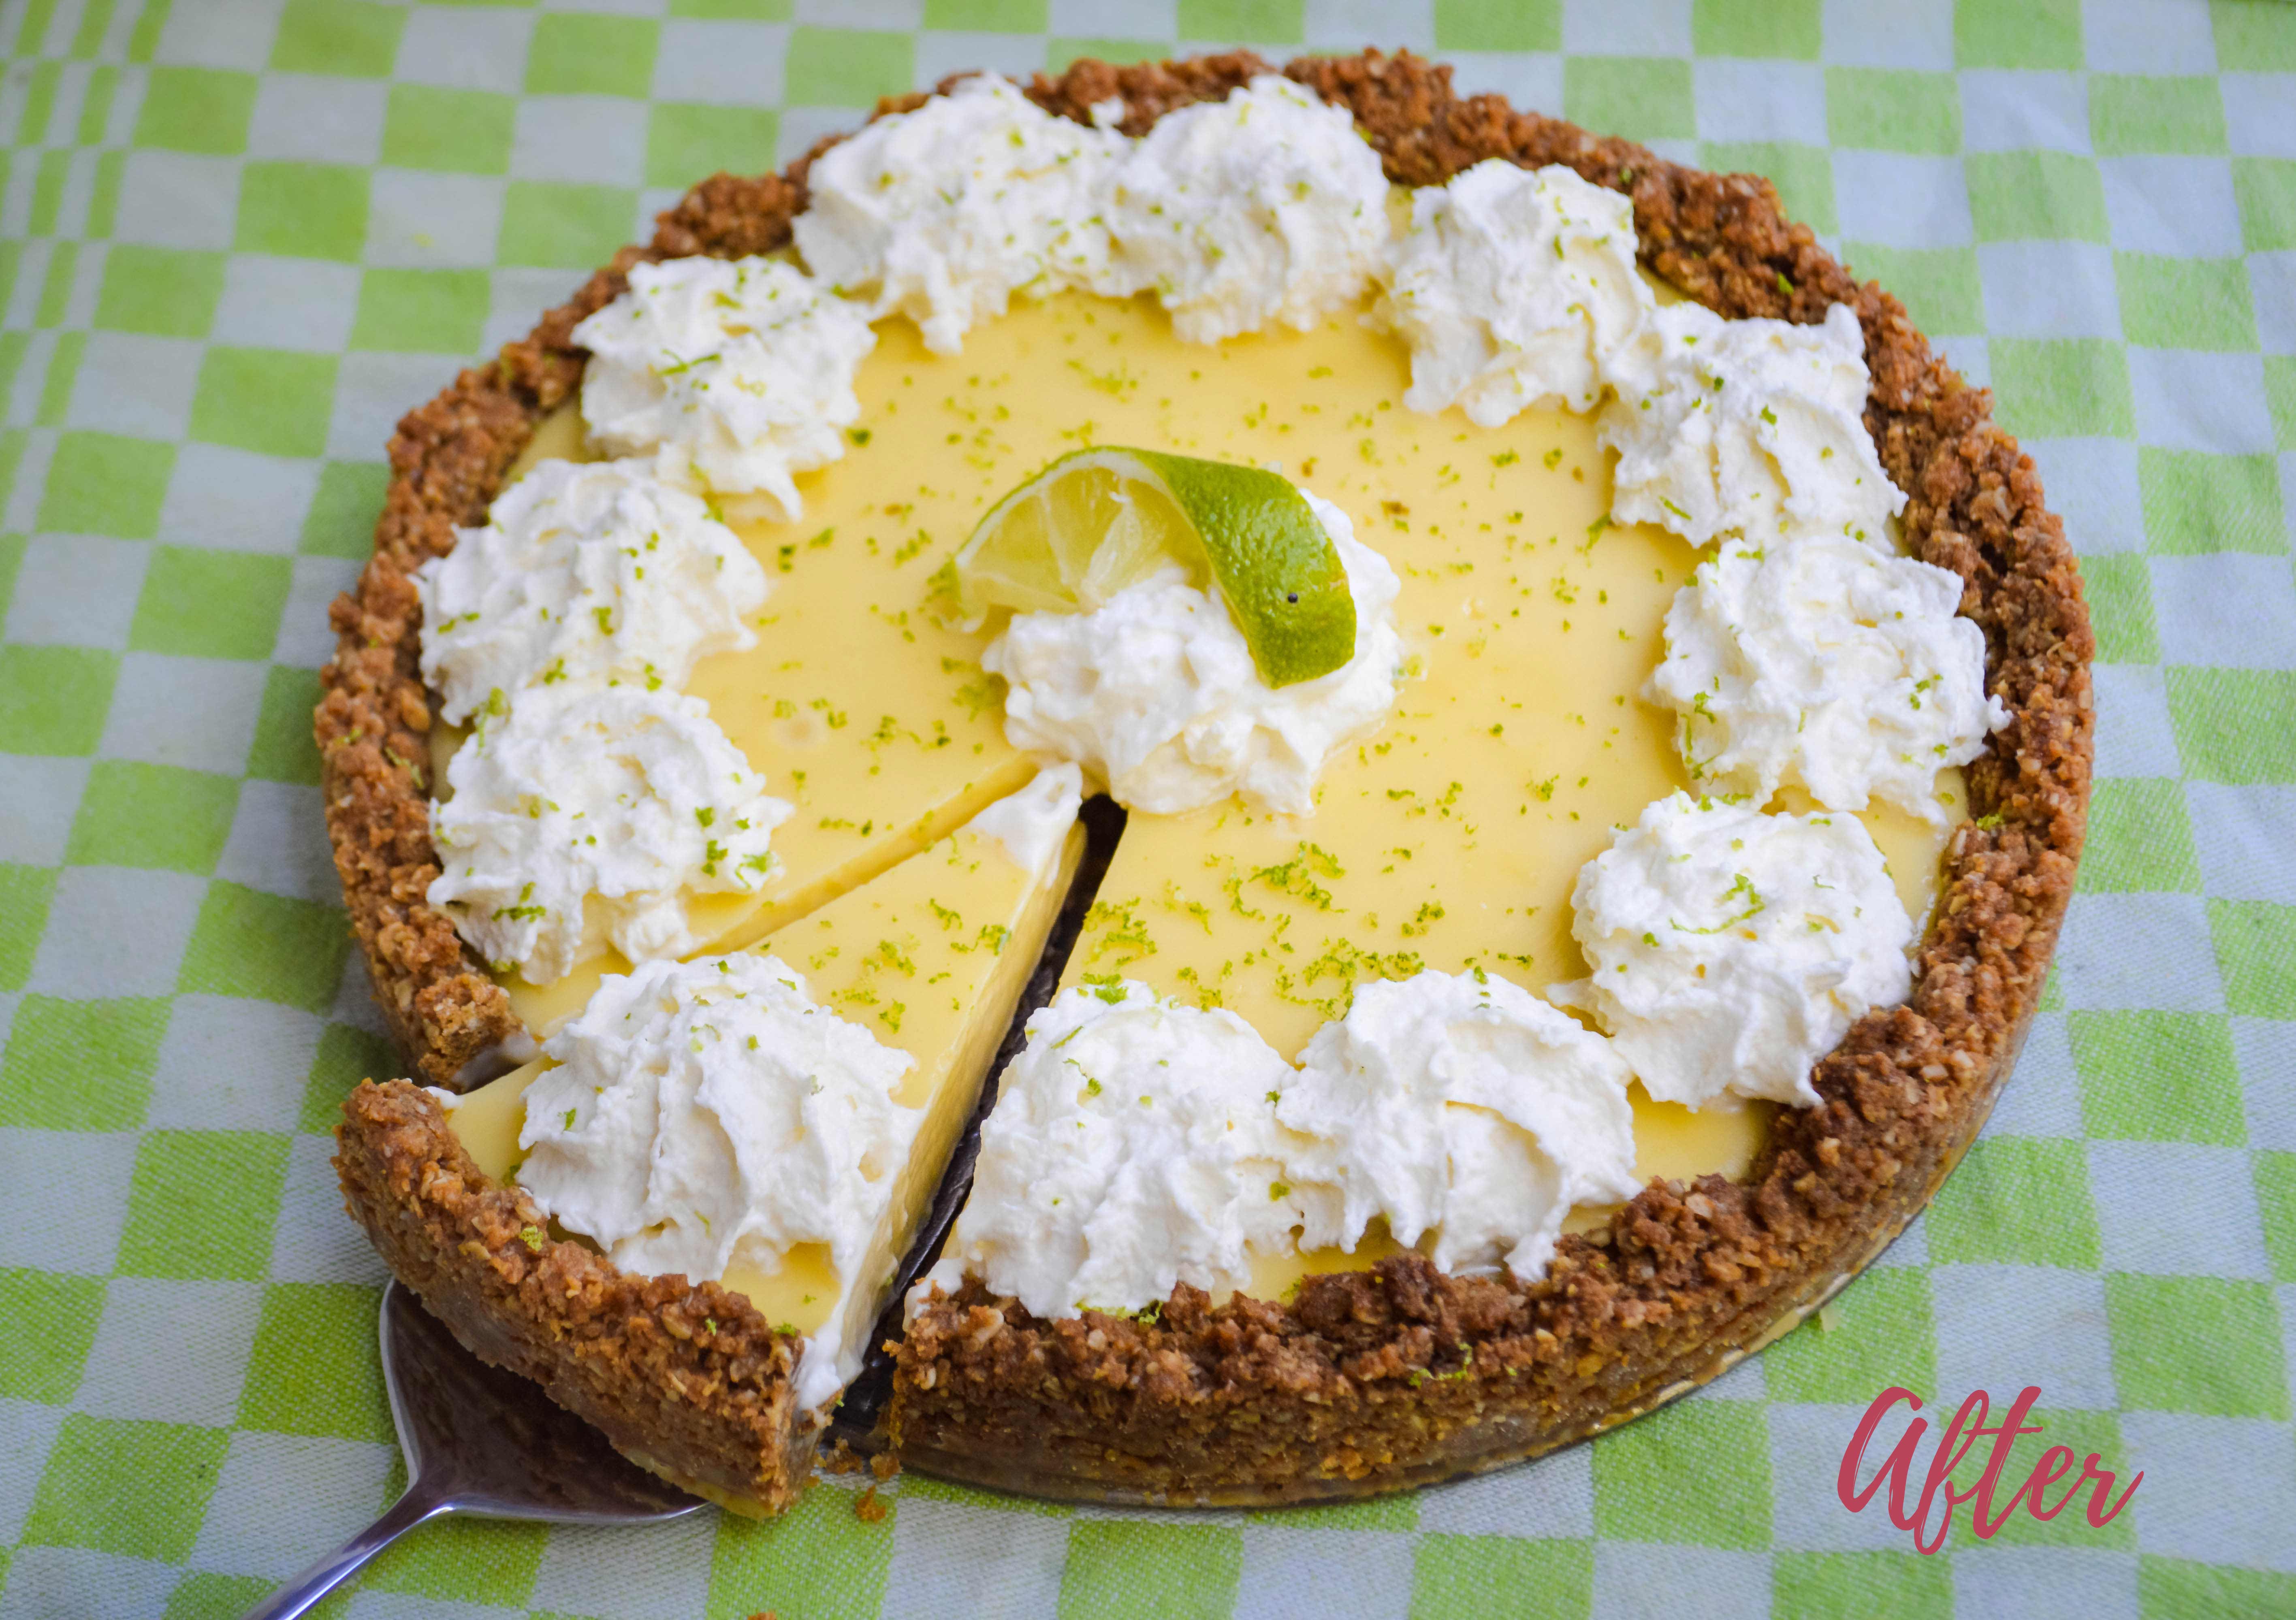
As you may have guessed from my recipe pages, I’m used to editing close-up food photographs using Lightroom and Photoshop. But I had never even considered using presets to save time. In this example, I did use several more steps than with the previous photographs, partly because I’m a perfectionist when it comes to food photography, but it was still an overall time-saver compared to how long it usually takes me to achieve the same result.
I used presets to do an overall edit, brighten the centre of the image, lighten the shadows and make the colour pop.
I then used brushes to lighten, brighten and contrast the green background, and to add detail and clarity to the topping of the pie.
Product Photography
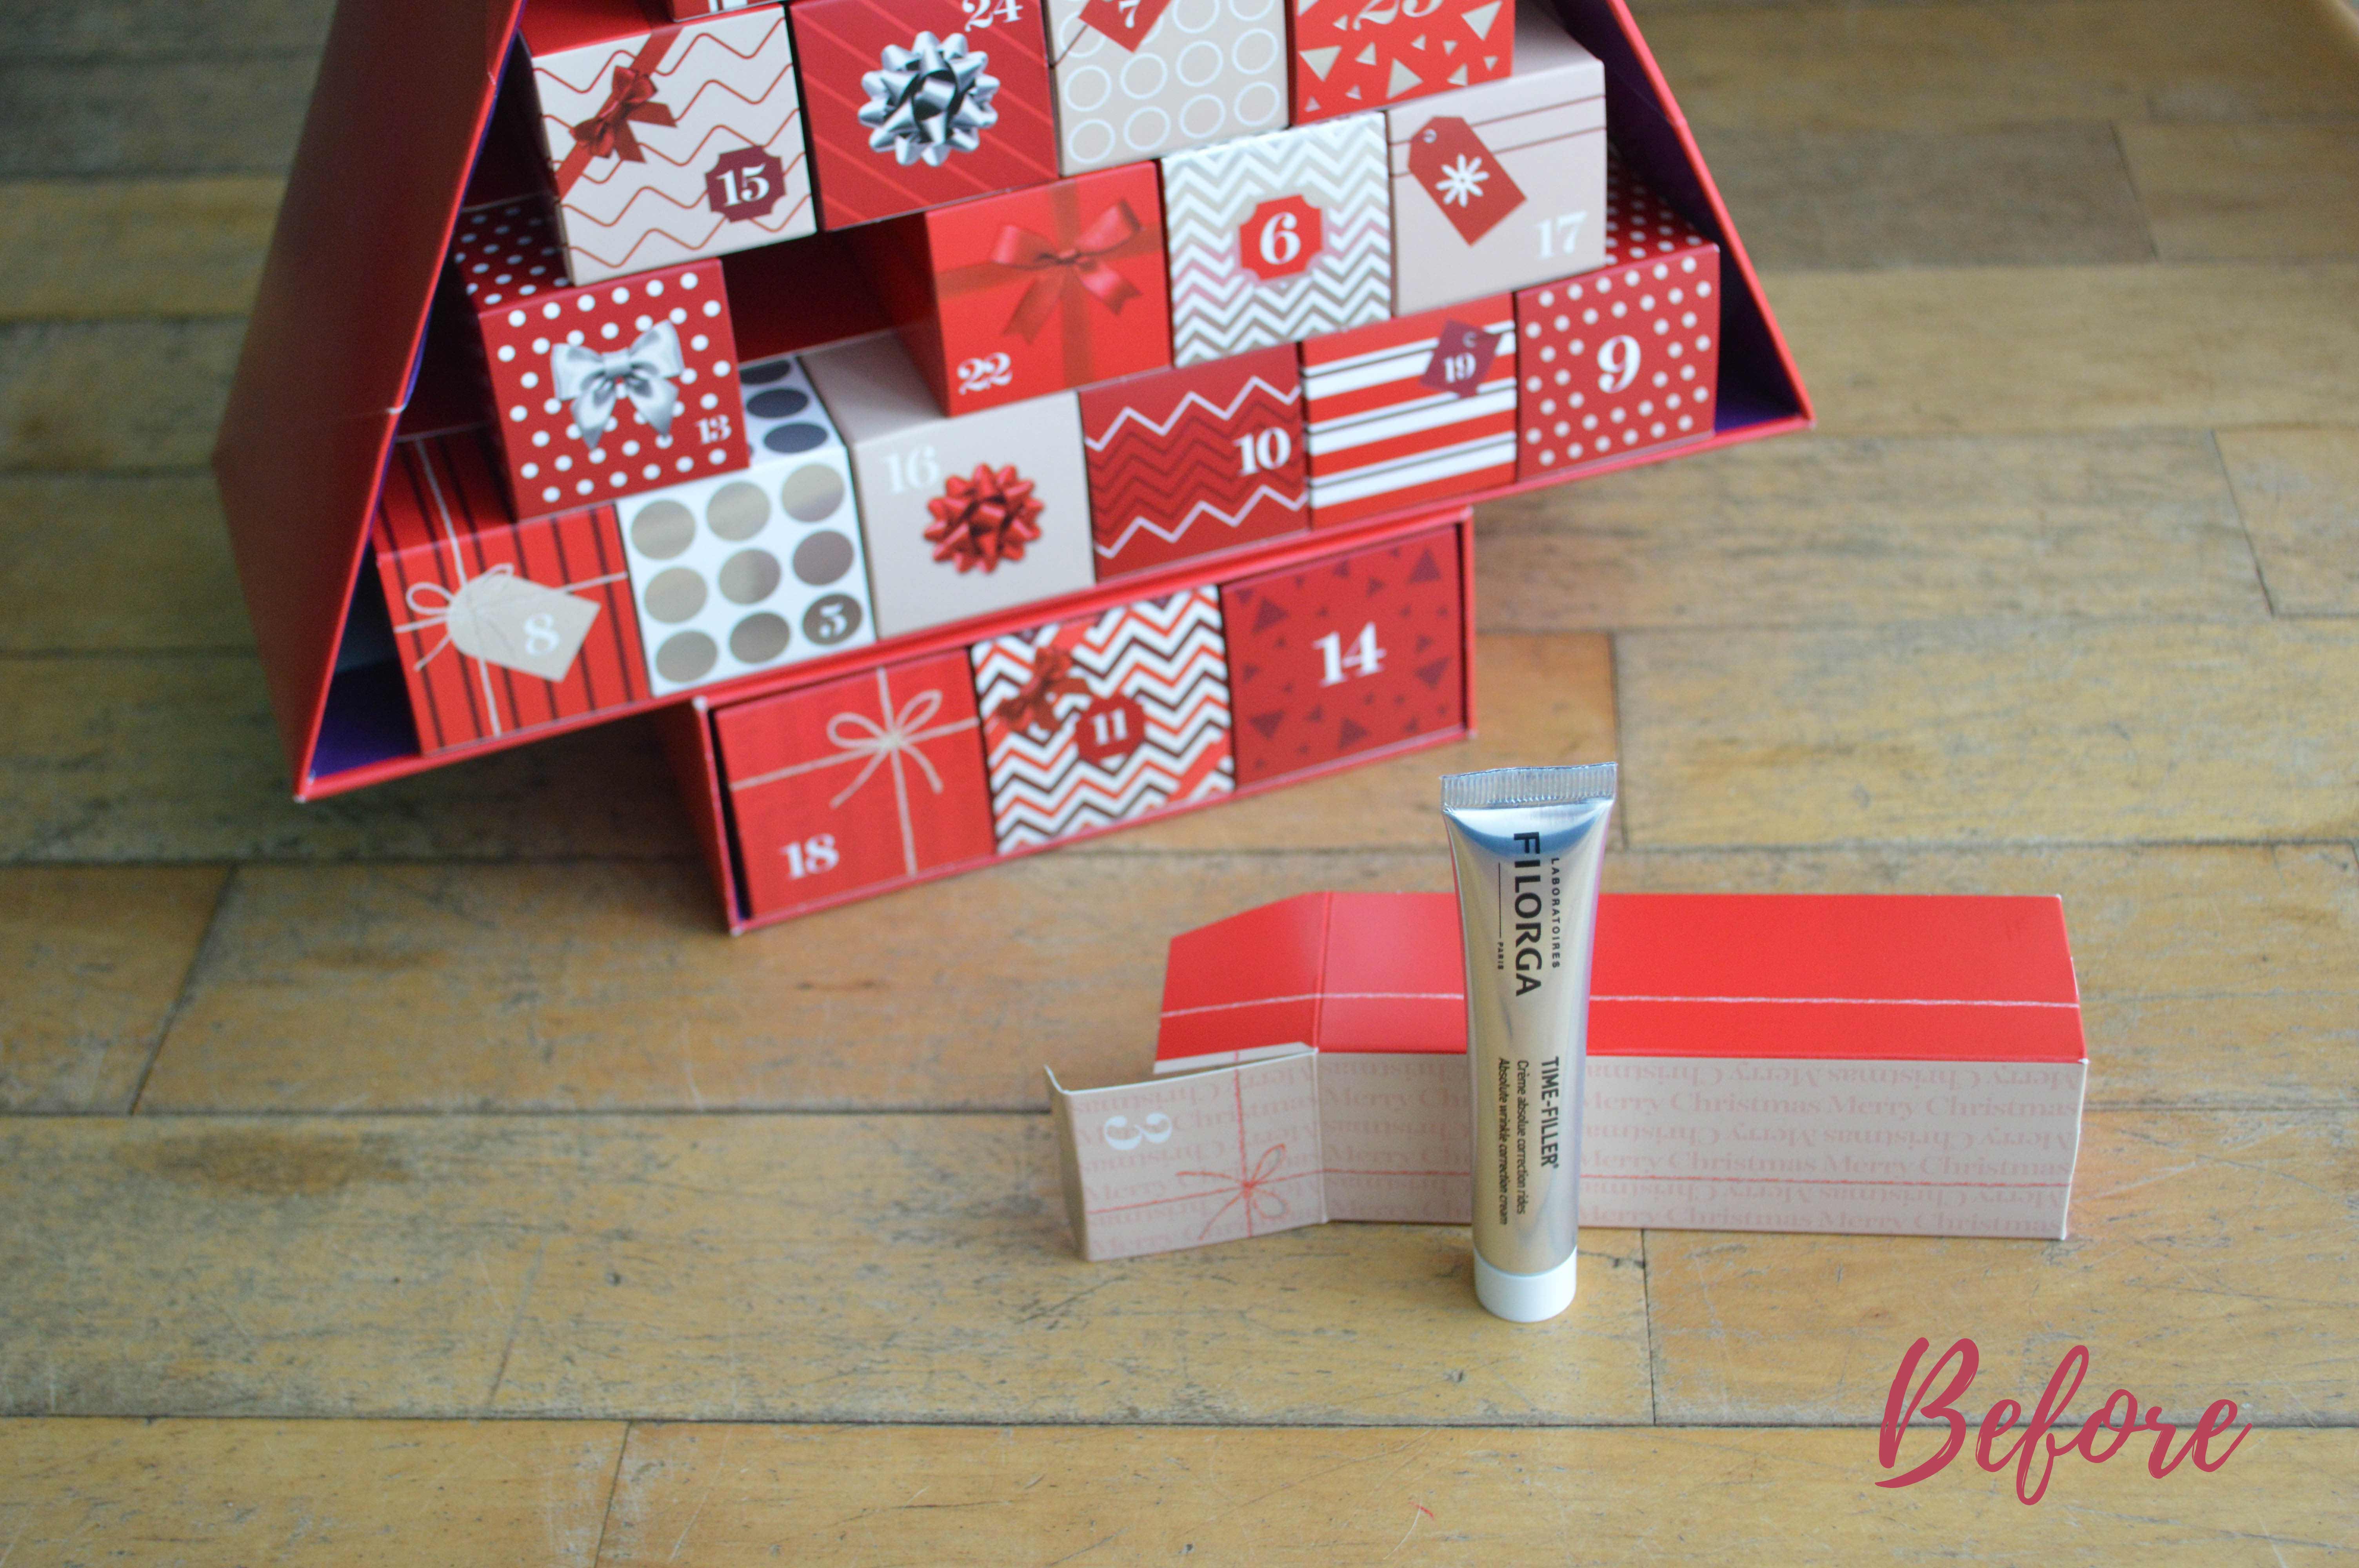
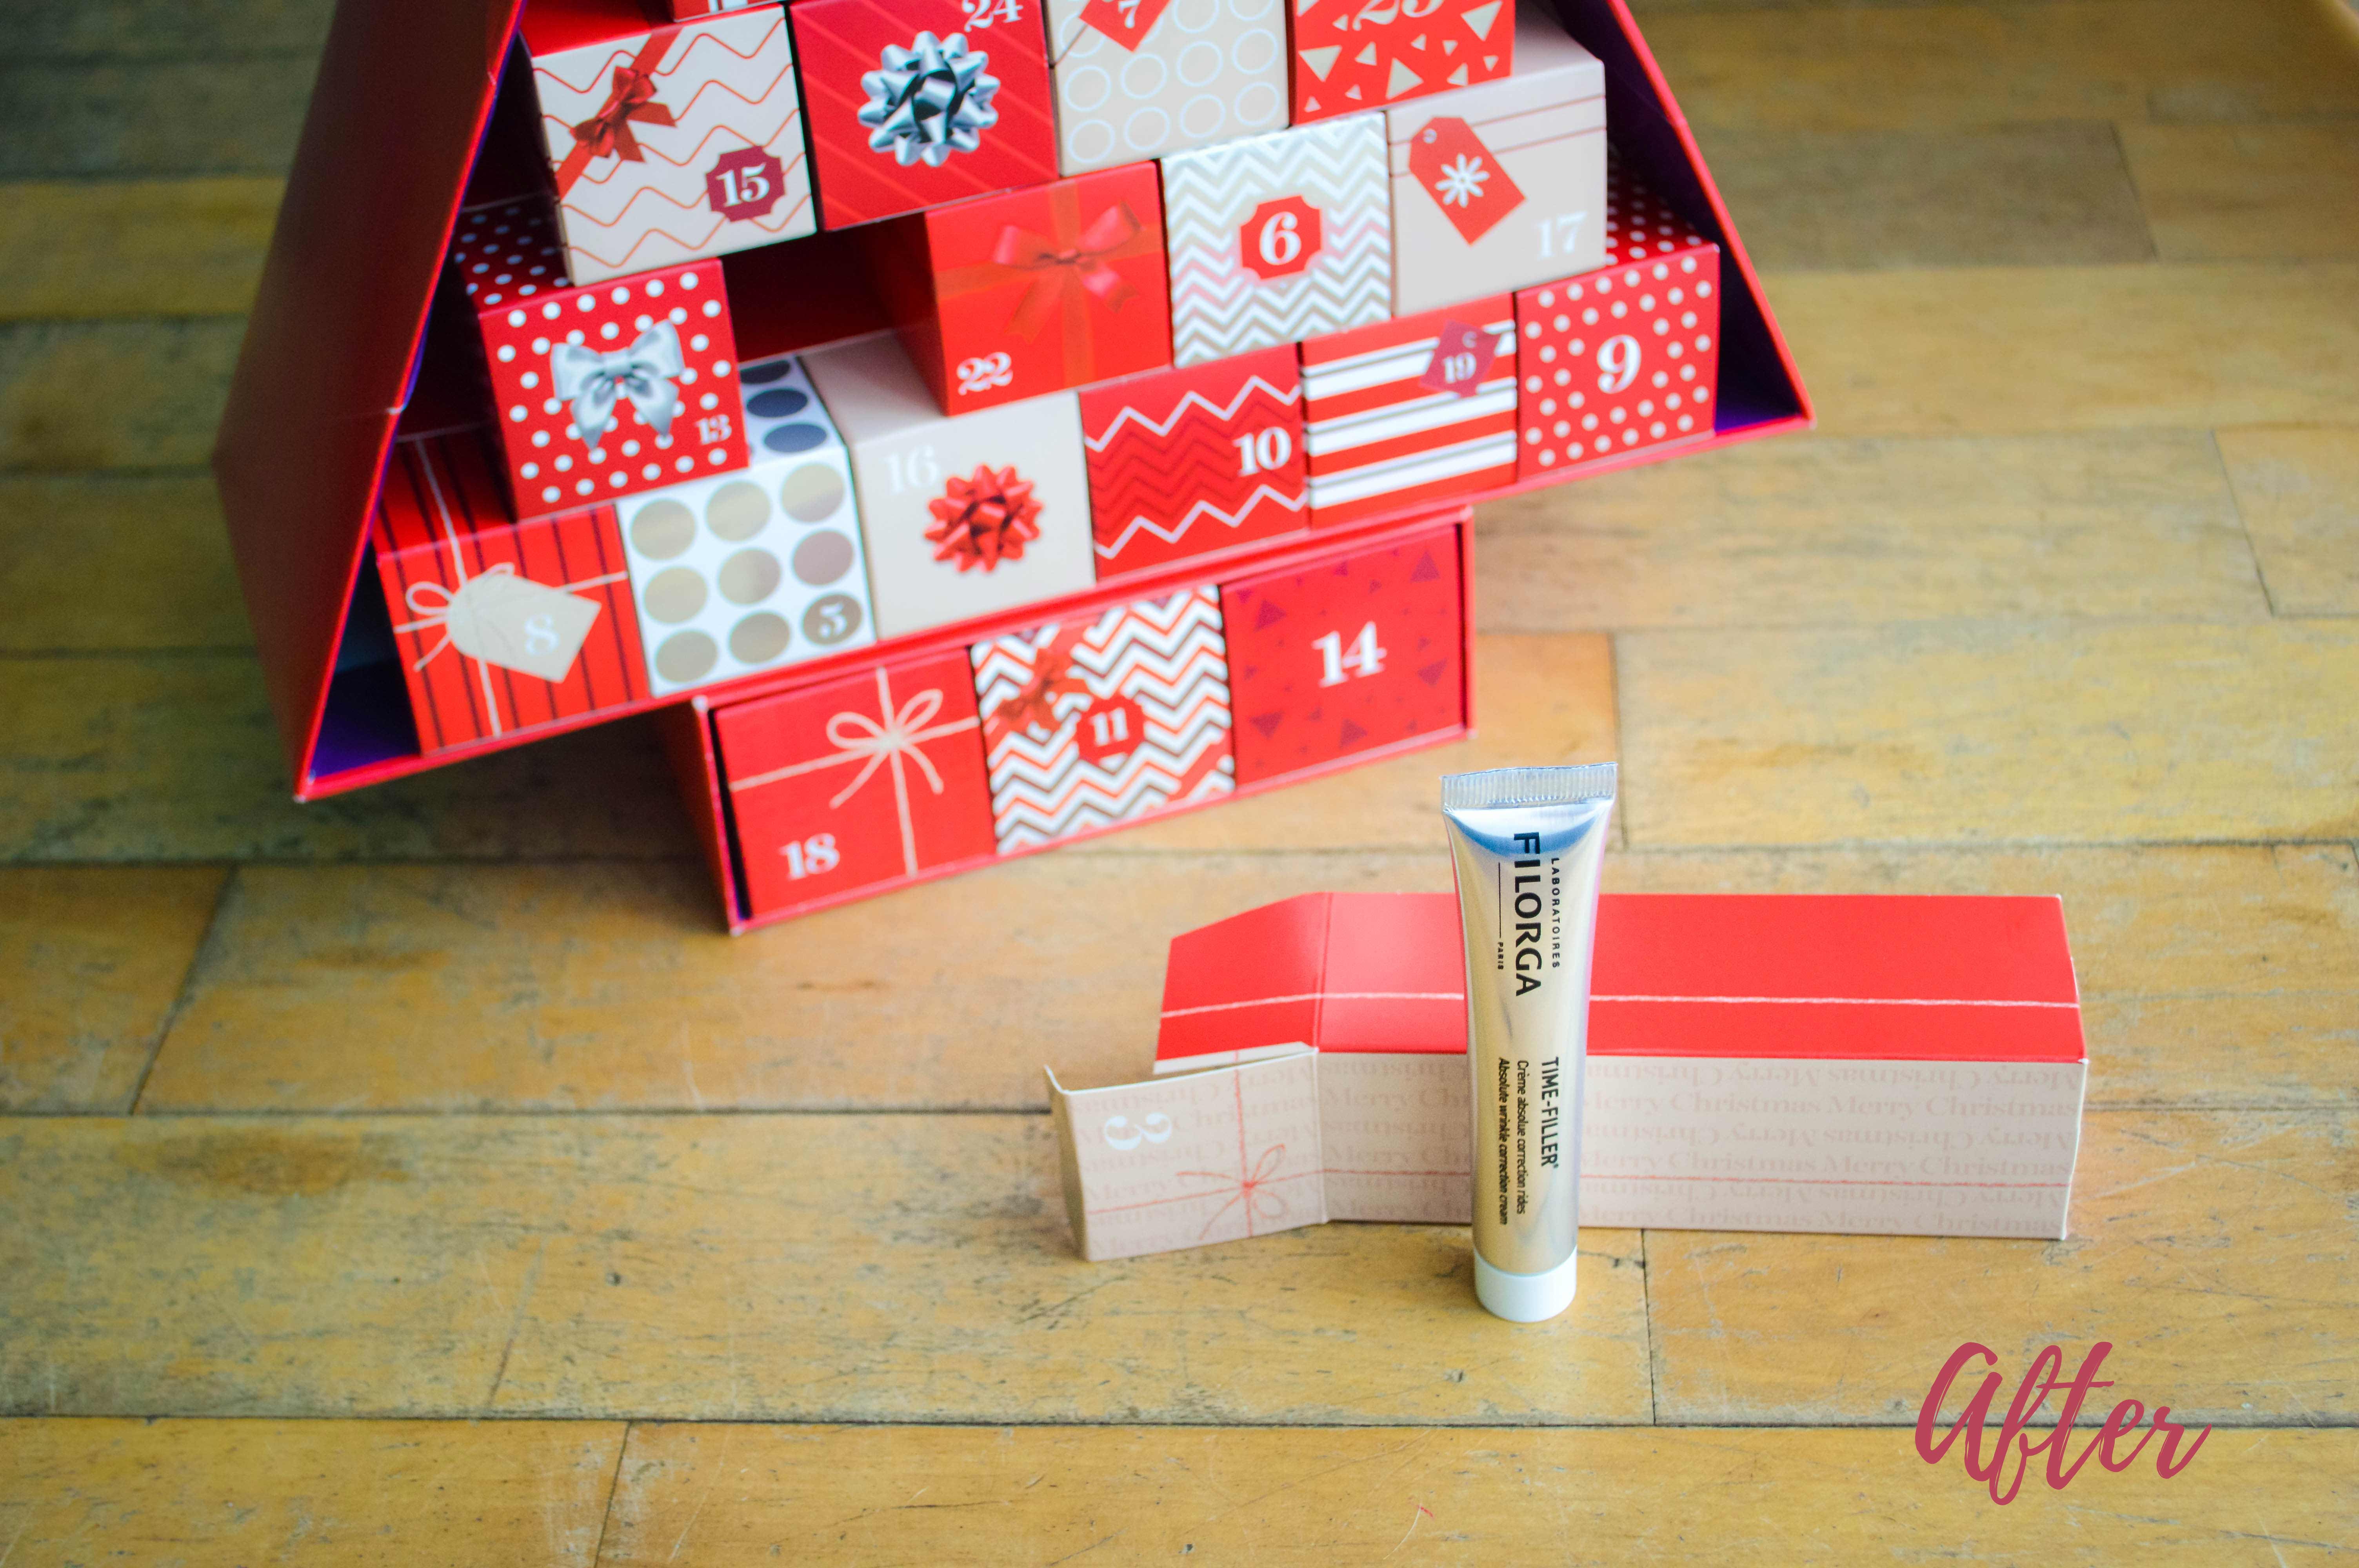
For this example, I used a photo I had taken when reviewing the beauty advent calendar I bought last year. As you can see, the photo looks so much brighter and more intriguing than the one straight from the camera, and draws your eye down to the bottle, which is obviously the point of product photography.
In addition to the foundation presets I’d been using for some of the other photographs (all-over editing, brightening and colour pop), I also used used ones to sharpen and add a warm base colour, as the original image was fairly blue-toned and cool.
I then used a brush to add clarity to the product and soften the background, in order to make the tube the main focus of the photograph.
Both this shot, and the food photograph, are also both great examples of how presets can lighten and brighten indoor photography, particularly shots taken on cloudy, dull days.
Night-time / Dark Light Photography
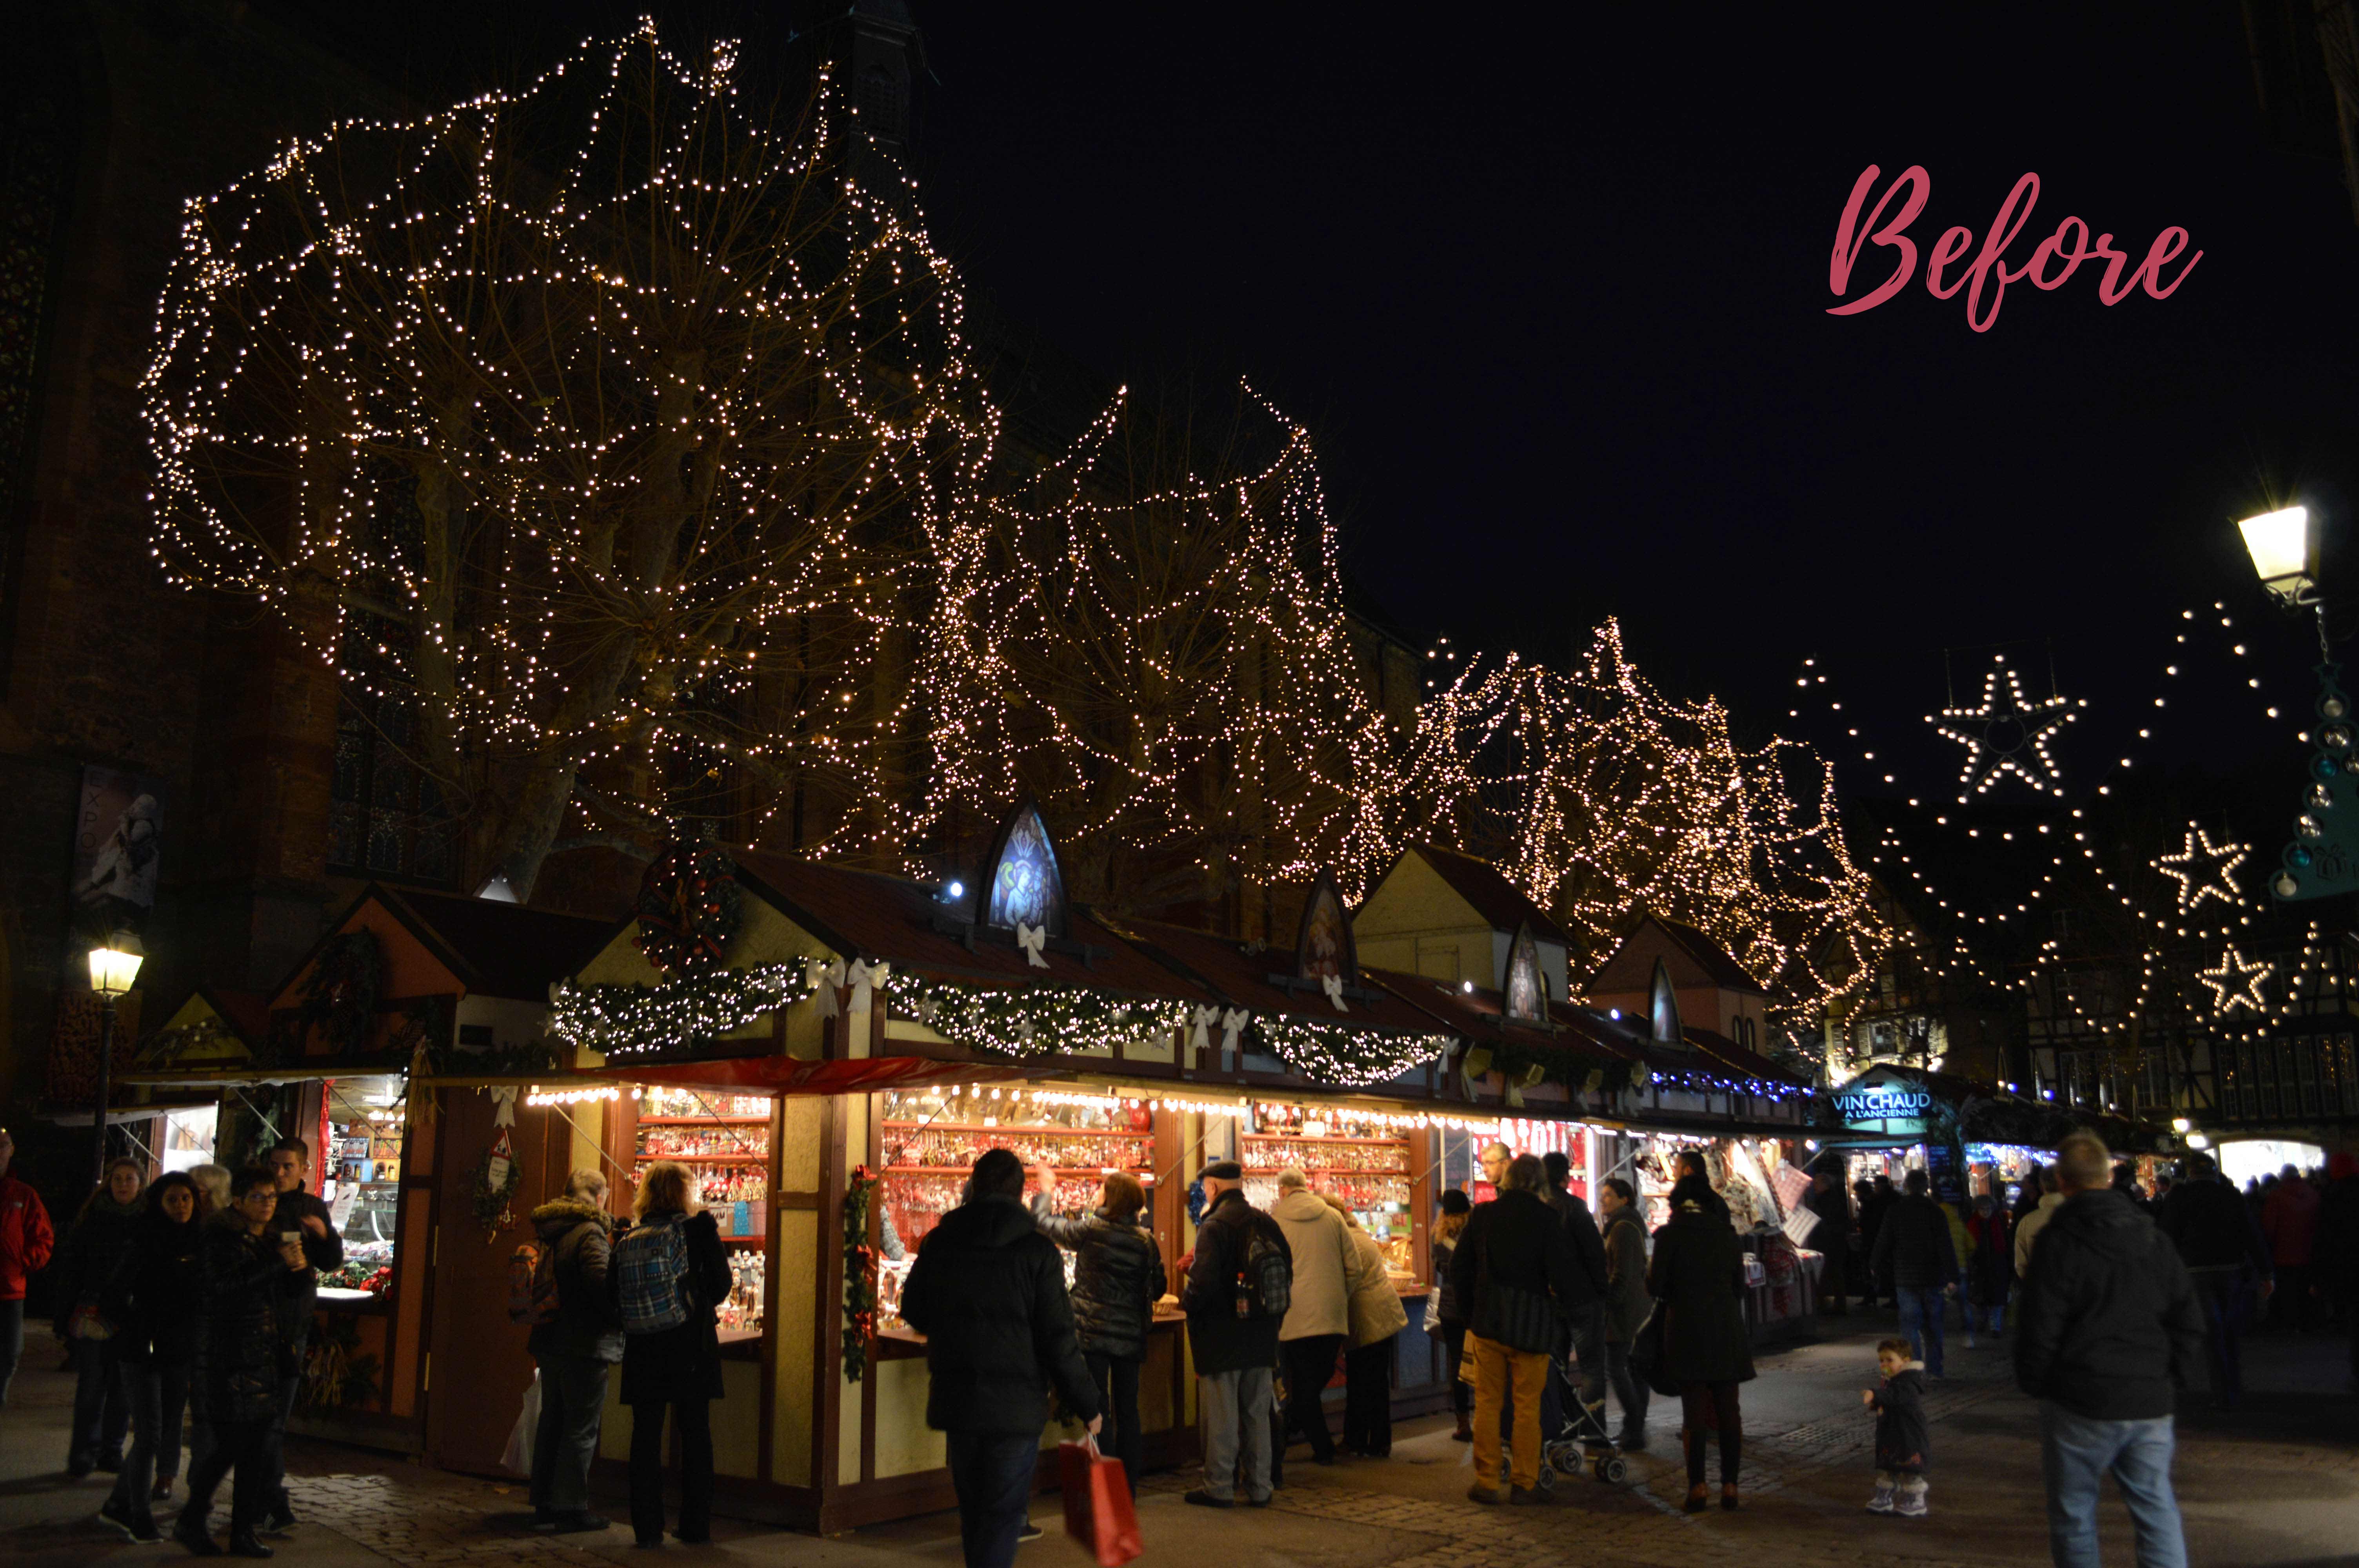
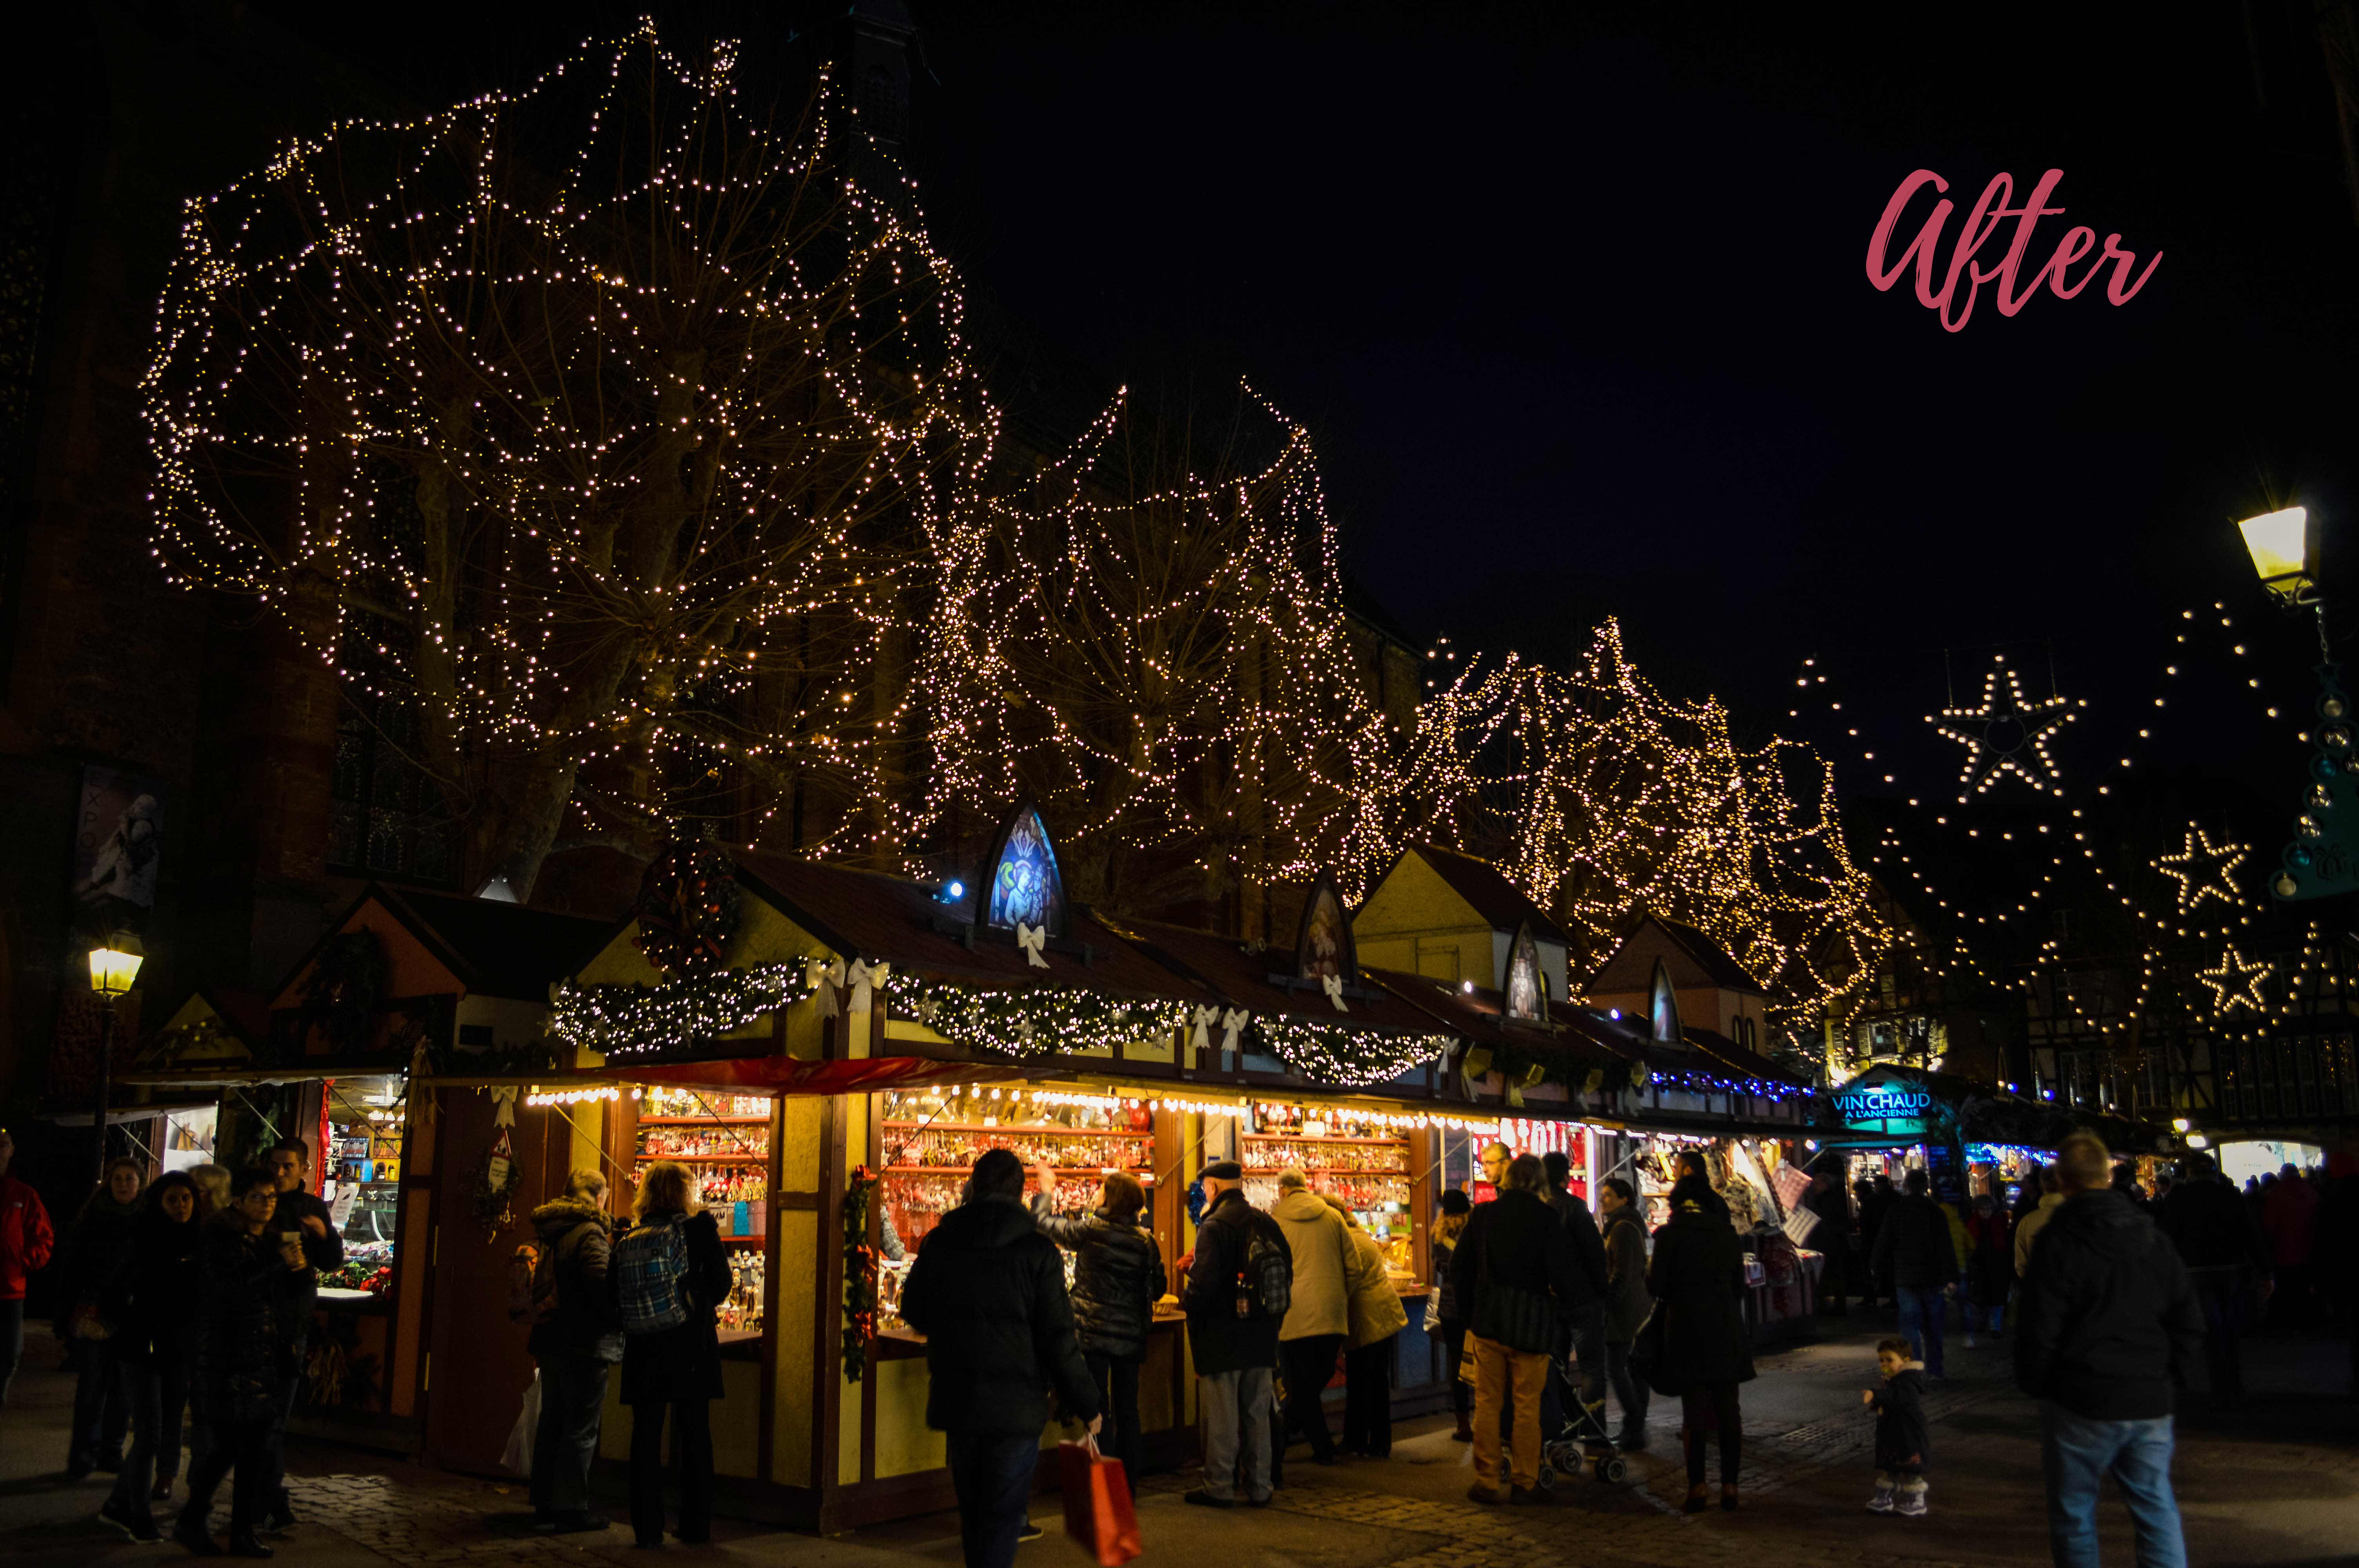
I was intrigued as to whether presets would even work on photographs taken at night, or that had minimal natural light or bright colours in them, so I decided to test it out on this shot from the Colmar Christmas market.
This photograph had actually already been edited in Lightroom, but I wanted to see if the presets could add anything that my initial processing hadn’t. I think they did.
The change is only subtle, but the presets I used to fix the yellow tones, add contrast, make the colour pop and add a little warmth all add that extra layer of inviting ‘cosiness’ that you associate with Christmas markets. I am genuinely surprised.
The Bottom Line
If you already have a basic working knowledge of Lightroom and a good eye for detail, then presets are a genuine time-saver and can really take your photography to the next level. Try and use them sparingly, because too many can make your photos look fake or over-processed, but once you’ve got the hang of them, you’ll probably be loathed to return back to manual editing!
Leave a Reply