It’s that time of year again, when we all over-indulge in festive food. Just me?
Anyway, despite my over-zealous love for Christmas, I actually don’t like many Christmas foods (I hate sultanas and raisins so mince pies, Christmas pudding and Christmas cake are all out, and turkey is just ‘meh’). One sweet treat I did love growing up, however, was chocolate yule log, something my Mum used to buy probably for consumption on Christmas Day as dessert, but which would usually have been scoffed long before then.

In the last couple of years, thanks to a branch of Marks and Spencer in Amsterdam, I have managed to turn Scott into a yule log lover also, and now we’re back in the UK, it seemed only fitting that this year I would make my own instead of having to settle for shop-bought.
When you first make a yule log, it can seem a pretty daunting task to roll up the cake, ice it, and then re-roll, but it really is a lot easier than it first appears. This is a similar method that you would use for a Swiss roll, although obviously without the icing on top and any holly/berries.

Several chocolate yule log recipes will use an icing sugar-based buttercream in the middle and on top. I know that the supermarket ones definitely do, but that’s partly to help them last longer. In this recipe, I’ve used a chocolate fudge icing, which does require refrigerating in between helpings (just take it out of the fridge about half an hour or so before serving to get it up to room temperature), but which really does give a richer, more chocolate-y taste.
One important tip: make sure to roll your cake almost as soon as it comes out of the oven, while it’s still warm. The steam will help to roll the cake without any cracks, and if you let it cool it will harden too much and be impossible to roll smoothly.
Aside from that, just have fun with it and remember that it’s supposed to look like a tree log – so it really doesn’t matter if it’s messy!
Chocolate Yule Log
10
servings30
minutes10
minutesIngredients
- For the sponge cake
5 eggs
140g (10 tbsp) light brown sugar
100g (3/4 cup + 2 tbsp) self raising flour
25g (1 tbsp + 2 tsp) cocoa powder
Caster sugar for dusting
- For the icing
285ml / 9 1/2 fl oz thick double cream
400g (14oz) milk chocolate (I used a variety of 3 different milk chocolates, including Lindt Lindor which is thick fondant chocolate)
Icing sugar to decorate
Directions
- Preheat your oven to 190C/ 375F and grease and line a 30 x 35 Swiss roll tin, or large cookie sheet with a lip around the edge.
- Separate all 5 eggs, putting the yolks and whites into separate mixing bowls. Add the sugar and 2 tbsp of water to the egg yolks and then use an electric whisk or food processor to whisk the mixture for around 5 mins, or until it is light in colour and starting to leave a trail with the blades. Sift in the flour and cocoa powder and fold in lightly using a metal spoon (be careful not to beat the air out of the mixture – you want it light and fluffy).
- Clean your whisk/food processor and then use it to beat the egg whites until they are stiff. Fold into the cake mixture in three batches, again using the metal spoon to lightly fold into the mixture.
- Pour the cake mix into your lined tin, making sure to spread it out into each corner evenly. Bake for 10-12 mins, or until firm but springy to the touch.
- Put a sheet of baking paper down on your kitchen counter that is bigger than the tin you have used for the cake, and sprinkle it with a dusting of caster sugar. Turn out your cooked cake onto the sugar and peel off the baking paper from the cooked side.
- Score along one of the longest edges of the cake, around 2cm in from the outside, and then roll the cake up from that side first, using the paper to help you. Leave the cake, rolled into a swirl, to cool completely.
- In the meantime, make the icing. Bring the cream to a boil in a small saucepan, then remove from the heat and break in 350g of the chocolate. Stir until melted and smooth, then chill until firm and spreadable, which can take up to one hour. Separate around one third of the icing in a separate bowl, chop the remaining 50g of chocolate and add it to this bowl. This will be the filling that will be used inside the cake.
- Carefully unroll the cake, then spread the filling all over, leaving a border of around 2cm all the way around. Roll the cake back up again, then set on a board or serving platter.
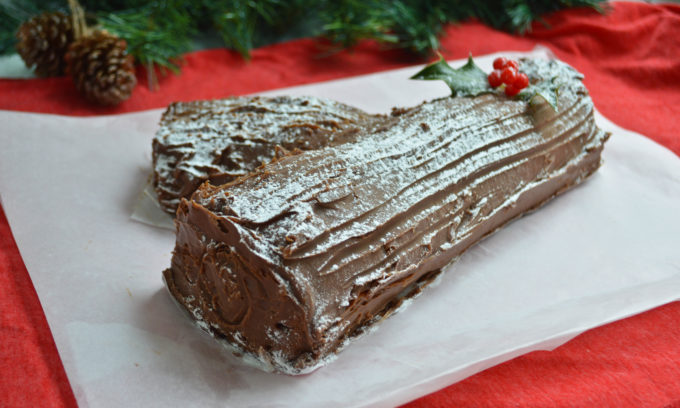
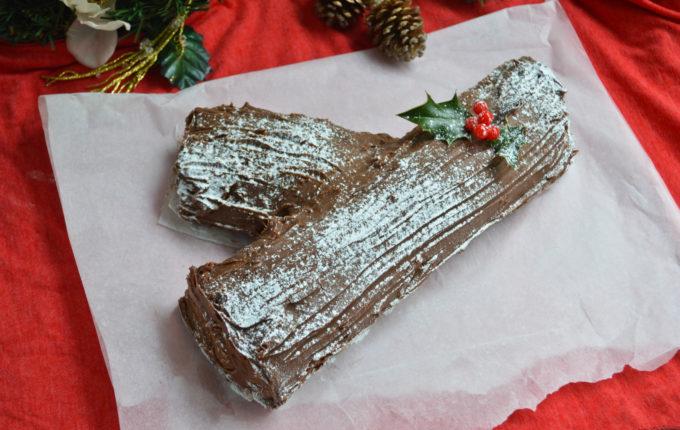
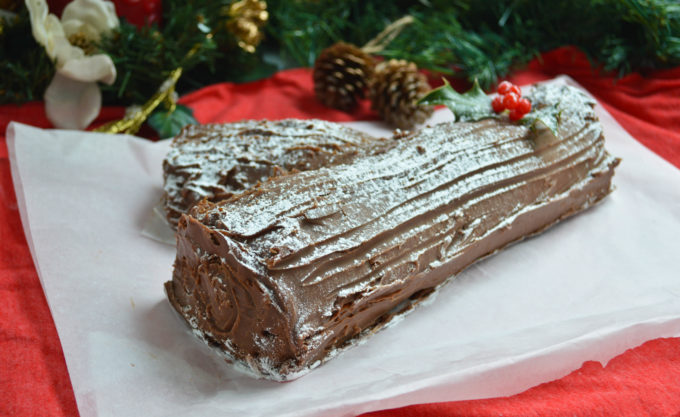
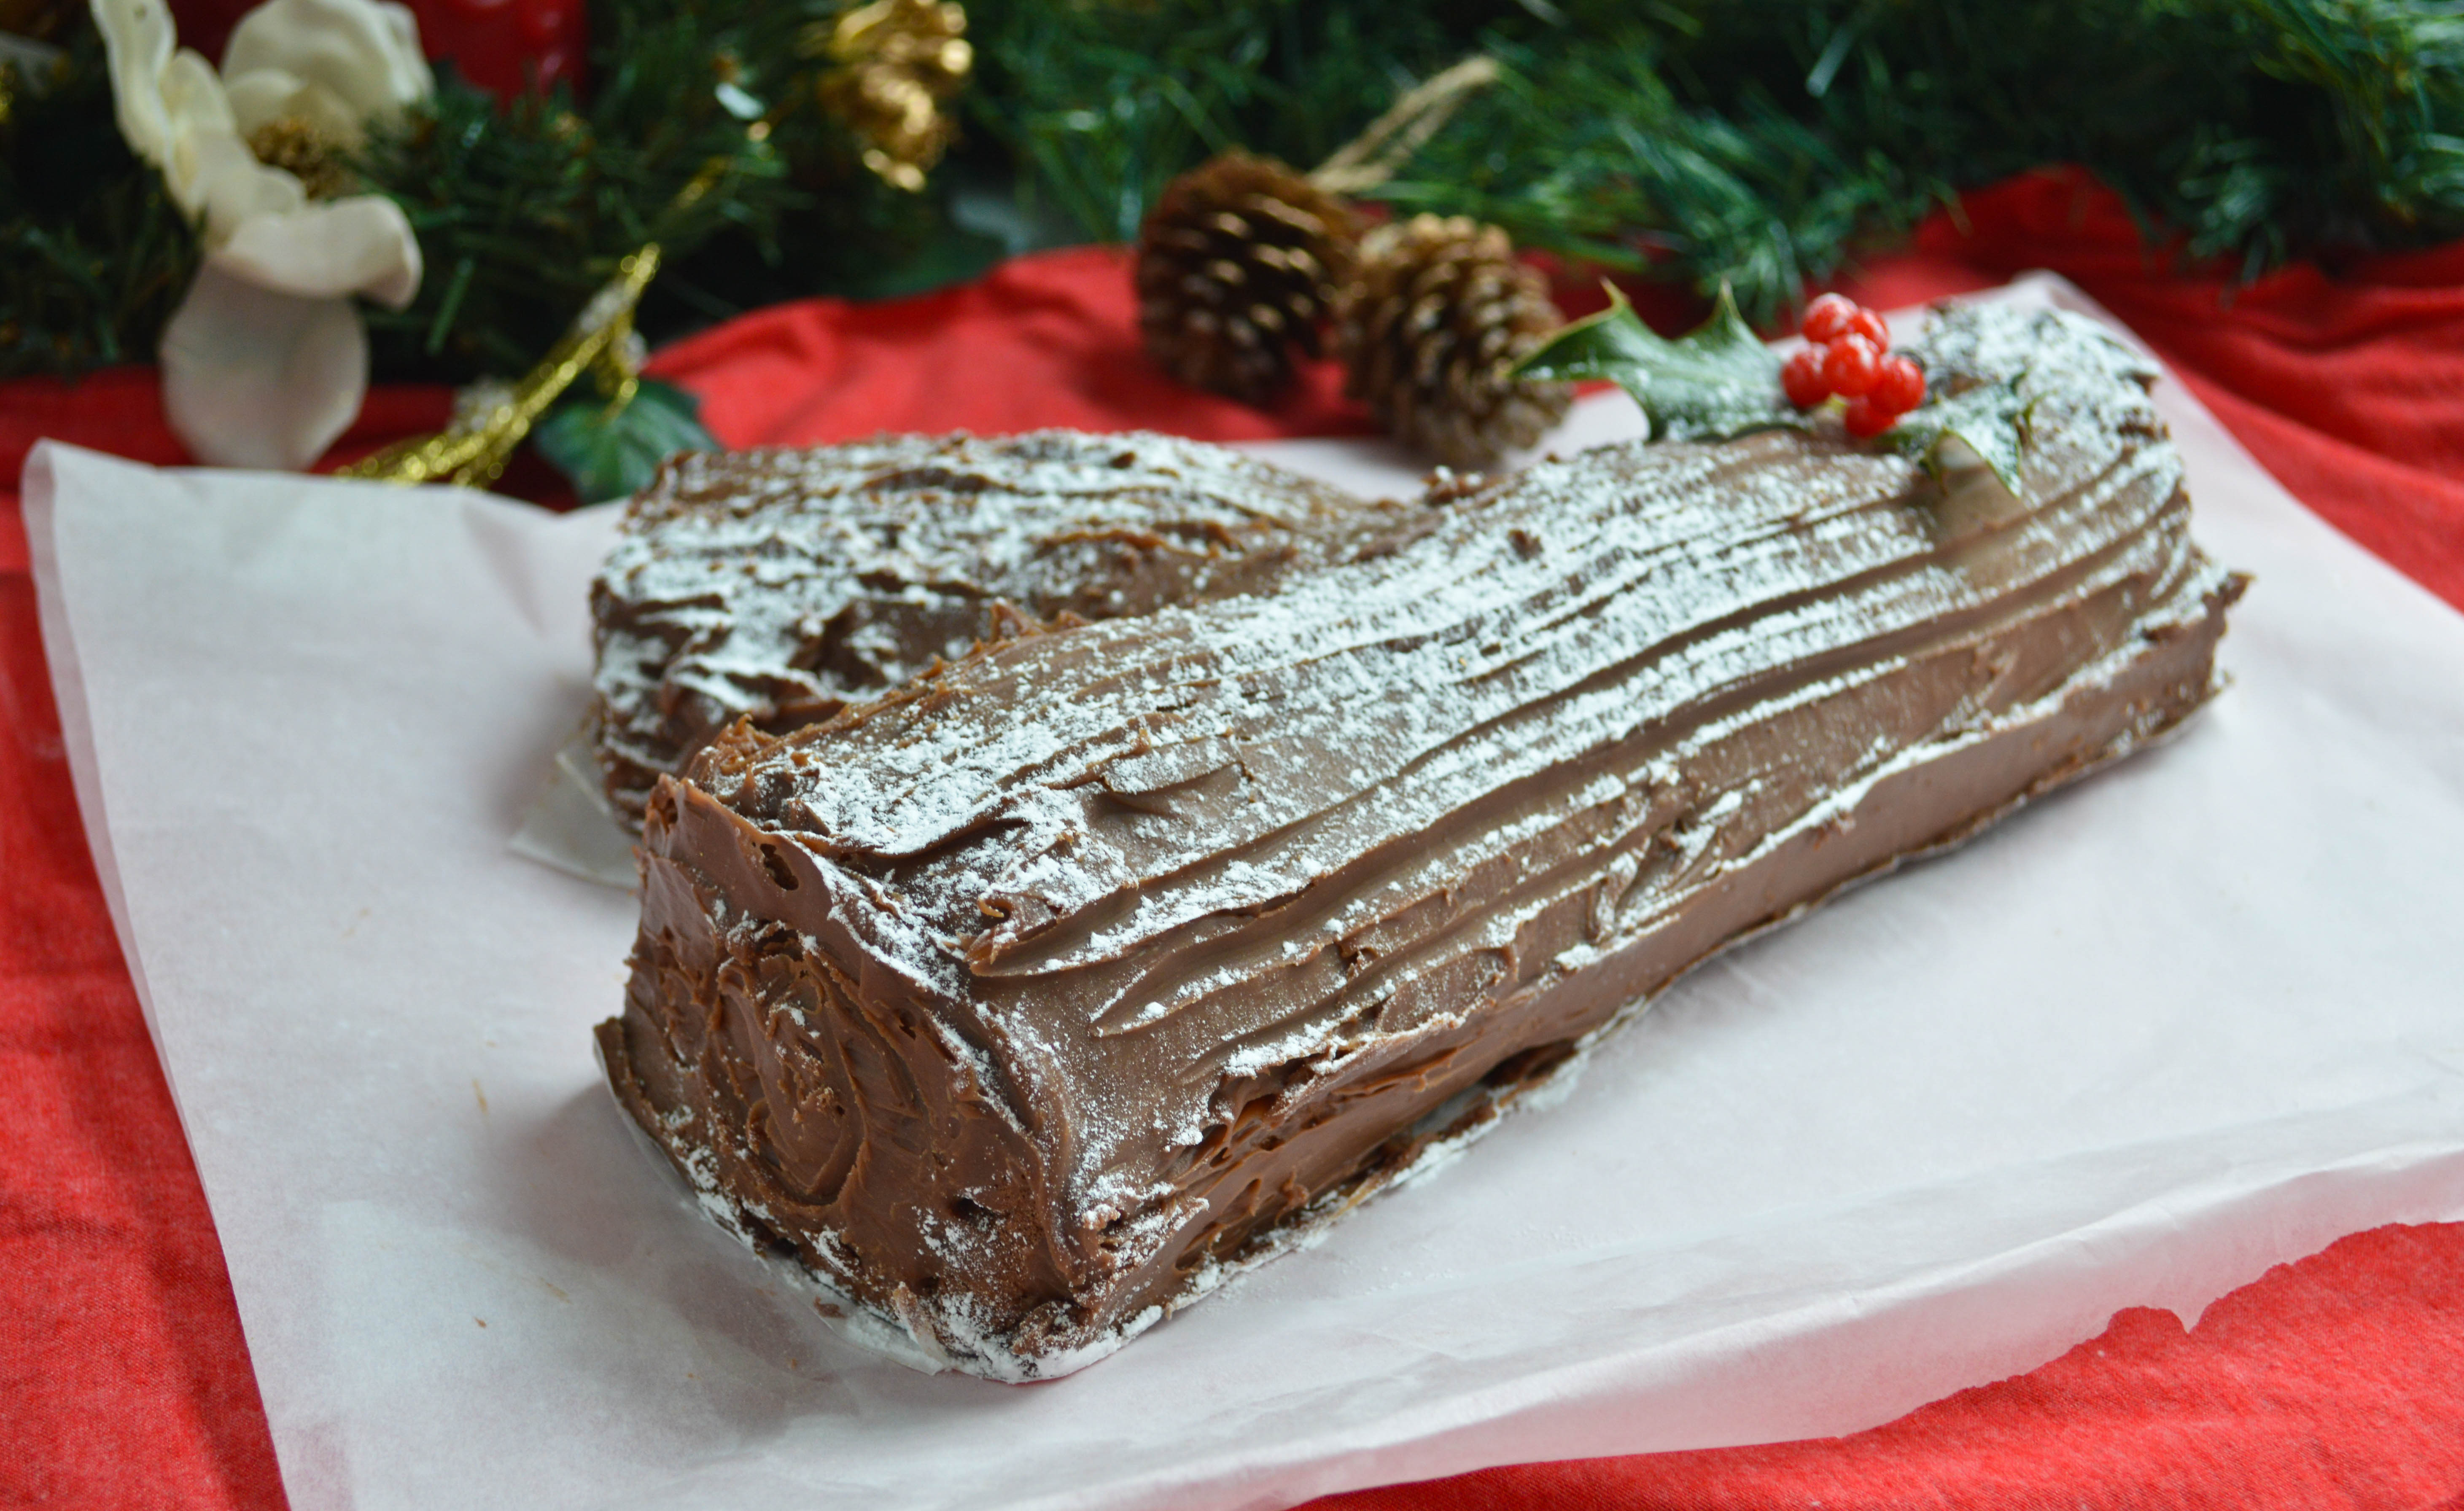
- Cut a diagonal slice off one end of the cake, then use a little icing to stick it to the side of the longer piece of cake, to make it look like a short stump. Cover the top and sides of the whole log with the remaining icing, then use a a cake scraper or the edge of a knife to draw lines down the length of the log. Dust with a sprinkle of icing sugar for a ‘snow’ effect.
Notes
- Adapted from Good Food

Leave a Reply